Hello, RDS for SQL Server!
Getting Started with .NET on AWS: Amazon Relational Database Service for SQL Server

This episode: Amazon RDS for SQL Server. In this Hello, Cloud blog series, we're covering the basics of AWS cloud services for newcomers who are .NET developers. If you love C# but are new to AWS, or to this particular service, this should give you a jumpstart.
Amazon Relational Database Service (Amazon RDS) is a managed database service that supports these database engines: Amazon Aurora, PostgreSQL, MySQL, MariaDB, Oracle, and Microsoft SQL Server. Of the supported RDS databases, SQL Server holds a special place in the heart of many .NET developers. In this post we'll focus on Amazon RDS for SQL Server.
What does it mean that RDS is a managed service? RDS takes care of hardware provisioning, database setup, patching, and backups—freeing you to focus on working with your database. RDS is easy to administer. It takes care of provisioning infrastructure, and you don't need to install any software. You can choose among SSD storage choices to optimize performance. If you prefer to bring your own existing SQL Server licenses, you should instead look at these EC2 options.
Whether you're a diehard relational database fan or are planning to progressively move your tables to NoSQL, RDS is frequently the most straightforward way to on-ramp SQL Server databases to AWS.
As we'll see in our Hello, RDS exercise, you don't need to learn a lot of new things in order to work with an RDS for SQL Server database. You can use management tools you're used to, like SQL Server Management Studio. Your code can use .NET libraries you're used to, like System.Data.SqlClient.
There are multiple ways to migrate an existing SQL Server database to RDS, including the AWS Database Migration Service and the Microsoft Bulk Copy Program (bcp). We won't be covering migration in this post.
Our Hello, RDS Project
If you've gone to the movies lately, you're probably familiar with theater seating charts and reserving seats. We'll create a database for theater seating, then query it from a .NET console program to generate a seating chart.
One-time Setup
To experiment with RDS and .NET and perform the Hello, RDS exercise, you will need:
- An AWS account, and an understanding of what is included in the AWS Free Tier.
- Microsoft Visual Studio 2022. If you're using an older version of Visual Studio you won't be able to use .NET 6.
- AWS Toolkit for Visual Studio. Configure the toolkit to access your AWS account and create an IAM user.
Step 1: Create an RDS for SQL Server database
In this step you'll create an RDS for SQL Server database.
Sign in to the AWS console.
At top right, select the region you want to work in. We're using N. California.
Navigate to Amazon RDS. You can enter rds in the search bar.
Under Create database, click Create database.
On the Create database page, select Standard create and Microsoft SQL Server.

Under Settings - DB instance identifier, enter a name for your database instance. We're using hello-rds.

Set a Master password for connecting to the database and confirm it. Make a note of the password.
Under Connectivity, select Yes for Public Access. We'll be testing our RDS database from a local .NET console program, so we need to be able to connect to this database outside the AWS VPC.
Important: Always decide security questions like this carefully. You don't need public access when your database and the web apps or services accessing them all reside in the same VPC.

Leave the remaining settings defaulted, but take a look at them to understand what you can configure. The default size of db.t3.small is sufficient because we won't be running challenging load against the database.
Click the Create database button at bottom and wait for the operation to complete, which may take a few minutes.

Occasionally refresh the view. When Status shows "Available", your database has been created and is ready for use.
Click the database name to view its details. Under Connectivity & security, record the Endpoint, which will have the form database-name.xxxxx.region.rds.amazonaws.com. That will be our server name when we connect to the database.

SSMS and our .NET Code will be connecting to the database over TCP port 1433. To enable that, find the VPC security group and click the link. Select the Inbound rules tab and click Edit inbound rules. Click Add rule and add a rule for Type Custom TCP, Port range 1433, Source My IP. Then click Save rules.

Step 2: Connect to database with SQL Server Management Studio
In this step, you'll connect to the RDS for SQL Server database you just created, using SQL Server Management Studio on your local computer.
If you don't already have SQL Server Management Studio, download it from here and install it. The link is near the bottom of the page.
Launch SSMS. Fill out the Connect to Server dialog as follows:
a. Server name: enter the endpoint name from Step 1 #10 earlier.
b. Authentication: select SQL Server Authentication.
c. Login: enter Admin.
d. Password: enter the password from Step 1 #7, and check Remember password.

Click Connect. After a moment, you should be connected to your RDS SQL Server database instance.
You are now able to connect to and query your RDS database with a tool you probably know well, SQL Server Management Studio tool.
Step 3: Create database and tables
In this step, you'll create a sample database for theater seating charts and tickets in SSMS.
In SSMS, click the New Query toolbar button.
Enter and run the query below to create a database named cinema.
CREATE DATABASE cinema;
In the SSMS toolbar, change the database selection from master to cinema.
Enter and run the query below to create a table named seating.
CREATE TABLE seating (
 theater int NOT NULL,
 row char(1) NOT NULL,
 seatcount int NOT NULL,
 PRIMARY KEY (theater, row)
);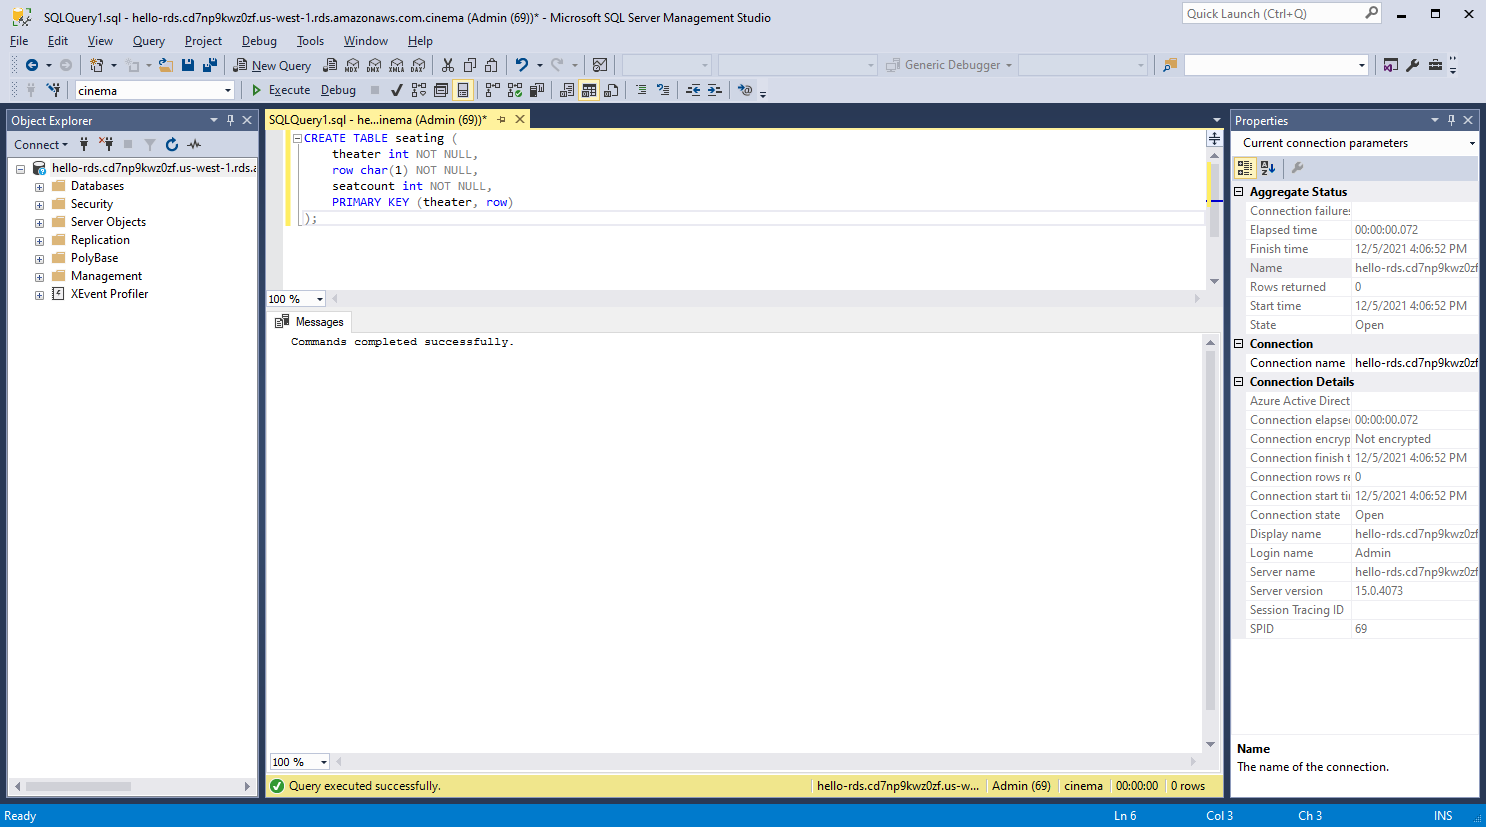
Enter and run the query below to create a table named showing.
CREATE TABLE showing (
 showing int NOT NULL PRIMARY KEY,
 theater int NOT NULL,
 date DATE NOT NULL,
 time TIME NOT NULL,
 feature NVARCHAR(30) NOT NULL
);
Enter and run the query below to create a table named ticket. Refresh and expand the Object Explorer pane and confirm the cinema database now contains 3 tables named dbo.seating, dbo.showing, and dbo.ticket.
CREATE TABLE ticket (
 showing int NOT NULL,
 row char(1) NOT NULL,
 seat int NOT NULL
);
To populate the seating table, enter and run the query below.
INSERT INTO seating (theater, row, seatcount) VALUES (1,'A',9);
INSERT INTO seating (theater, row, seatcount) VALUES (1,'B',10);
INSERT INTO seating (theater, row, seatcount) VALUES (1,'C',10);
INSERT INTO seating (theater, row, seatcount) VALUES (1,'D',0);
INSERT INTO seating (theater, row, seatcount) VALUES (1,'E',8);
INSERT INTO seating (theater, row, seatcount) VALUES (1,'F',8);
INSERT INTO seating (theater, row, seatcount) VALUES (1,'G',8);
INSERT INTO seating (theater, row, seatcount) VALUES (1,'H',8);
INSERT INTO seating (theater, row, seatcount) VALUES (1,'J',10);
To populate the showing table, enter and run the query below.
INSERT INTO showing (showing, theater, date, time, feature) VALUES (101, 1, '12/10/2021', '7:00 PM', 'The Blob');
To populate the ticket table, enter and run the query below.
INSERT INTO ticket (showing, row, seat) VALUES (101, 'B', 5);
INSERT INTO ticket (showing, row, seat) VALUES (101, 'B', 4);
INSERT INTO ticket (showing, row, seat) VALUES (101, 'B', 3);
INSERT INTO ticket (showing, row, seat) VALUES (101, 'C', 7);
INSERT INTO ticket (showing, row, seat) VALUES (101, 'E', 8);
INSERT INTO ticket (showing, row, seat) VALUES (101, 'F', 1);
INSERT INTO ticket (showing, row, seat) VALUES (101, 'F', 2);
INSERT INTO ticket (showing, row, seat) VALUES (101, 'F', 5);
INSERT INTO ticket (showing, row, seat) VALUES (101, 'F', 6);
INSERT INTO ticket (showing, row, seat) VALUES (101, 'G', 1);
INSERT INTO ticket (showing, row, seat) VALUES (101, 'G', 2);
INSERT INTO ticket (showing, row, seat) VALUES (101, 'J', 5);
INSERT INTO ticket (showing, row, seat) VALUES (101, 'J', 6);
INSERT INTO ticket (showing, row, seat) VALUES (101, 'J', 8);
Confirm all 3 tables now hold data. Enter and run the query below and you should see results for the seating, showing, and ticket tables.
SELECT * FROM seating
SELECT * FROM showing
SELECT * FROM ticket
We now have schema and data in our RDS database.
Step 4: Access Database from a .NET Program
Now we'll access the database from .NET code. We'll write a .NET console program that displays a simple theater seating chart diagrams for ticket purchases, using the database we just created and populated.
Open a command window. Create a folder named hello-rds and CD to it.
Use the dotnet new command below to create a new .NET 6 console program.
dotnet new console
Launch Visual Studio and open the hello-rds project.
In Solution Explorer, right-click the hello-rds project and select Manage NuGet Packages. Search for and install the System.Data.SqlClient package.

Open Program.cs in the editor and replace with the code below at the end of this step. Update the builder.DataSource value with your database instance endpoint. Save your changes.
The code reads the seating chart and ticket reservations from the RDS database and outputs a crude seating chart of available seats.
Back at your command/terminal window, enter dotnet run to run the program, with your master password on the command line. A seating chart displays, based on data in your RDS database.

Congratulations! You've just accessed an Amazon RDS for SQL Server database from a .NET program.
Program.cs
using System.Collections.Generic;
using System.Data.SqlClient;

namespace hello_rds
{
    class Program
    {
        static void Main(string[] args)
        {
            var seatReserved = new Dictionary<string, bool>();

            if (args.Length < 1)
            {
                Console.WriteLine("Specify SQL Server password on the command line: dotnet run <password>");
                Environment.Exit(0);
            }
            var password = args[0];

            try
            {
                SqlConnectionStringBuilder builder = new SqlConnectionStringBuilder();

                builder.DataSource = "YOUR-ENDPOINT.rds.amazonaws.com";
                builder.UserID = "Admin";
                builder.Password = password;
                builder.InitialCatalog = "cinema";

                using (SqlConnection connection = new SqlConnection(builder.ConnectionString))
                {
                    Console.WriteLine("Theater Seating Chart");
                    Console.WriteLine();

                    connection.Open();

                    // Mark ticketed seats as unavailable

                    string sqlTickets = "SELECT row, seat FROM ticket WHERE showing=101";

                    using (SqlCommand command = new SqlCommand(sqlTickets, connection))
                    {
                        using (SqlDataReader reader = command.ExecuteReader())
                        {
                            while (reader.Read())
                            {
                                var row = Convert.ToString(reader["row"]);
                                var seat = Convert.ToInt32(reader["seat"]);
                                var seatName = $"{row}{seat}";
                                seatReserved[seatName] = true;
                            }
                        }
                    }

                    // Read rows and display seating chart

                    string sqlSeating = "SELECT row, seatcount FROM seating ORDER BY row";

                    using (SqlCommand command = new SqlCommand(sqlSeating, connection))
                    {
                        using (SqlDataReader reader = command.ExecuteReader())
                        {
                            while (reader.Read())
                            {
                                var row = Convert.ToString(reader["row"]);
                                var seatcount = Convert.ToInt32(reader["seatcount"]);

                                for (int i = 10; i > 0; i--)
                                {
                                    Console.Write(i > seatcount ? "        " : "+-------");
                                }
                                Console.WriteLine("+");


                                for (int i = 10; i > 0; i--)
                                {
                                    var seatName = $"{row}{i}";
                                    if (i > seatcount)
                                    {
                                        Console.Write("        ");
                                    }
                                    else
                                    {
                                        Console.Write(seatReserved.ContainsKey(seatName) ? "|       " : $"|  {row}{i,-2}  ");
                                    }
                                }
                                Console.WriteLine("|");


                                for (int i = 10; i > 0; i--)
                                {
                                    Console.Write(i > seatcount ? "        " : "+-------");
                                }
                                Console.WriteLine("+");

                                Console.WriteLine();
                            }
                        }
                    }
                }
            }
            catch (SqlException e)
            {
                Console.WriteLine(e.ToString());
            }
        }
    }
}
Step 5: Shut it Down
When you're done with it, delete your RDS database. You don't want to accrue charges for something you're not using.
- In the AWS console, navigate to Amazon RDS.
- Select Databases from the left panel.
- Select the database your created in Step 1.
- Select Delete from the Actions dropdown at top right.
- Uncheck the check boxes and confirm the delete.
- Wait for the delete operation to complete, and confirm the database is no longer listed in the console.
Where To Go from Here
You've just created an Amazon RDS for SQL Server database, created schema using SQL Server Management Studio, and accessed it from .NET code. If you're a longtime SQL Server user, note that you didn't have to abandon your familiar tools and libraries and learn something new. We used familiar SQL Server Management Studio to create schema and populate data. We used familiar .NET classes like SqlConnection, SqlCommand, and SqlDataReader in our code.
Experiment with RDS to get comfortable with it, and read up on the documentation, best practices, and supported scenarios to understand it. Once you have a production target in mind, identify any specific needs for performance, storage, scalability, disaster recovery, security, cost, or data migration. Then compare that with with RDS's features and options to confirm you have a match.
Further Reading
AWS Documentation
Amazon Relational Database Service
Amazon RDS Best Practices for Working with SQL Server
New Amazon RDS Custom for SQL Server is Generally Available
Migrate on on-premises Microsoft SQL Server database to Amazon RDS for SQL Server
Using a Microsoft SQL Server database as a target for AWS Database Migration Service
Blogs


