

Table of contents
- This episode: AWS Cloud9 and using a cloud IDE. In this Hello, Cloud blog series, we're covering the basics of AWS cloud services for newcomers who are .NET developers. If you love C# but are new to AWS, or to this particular service, this should give you a jumpstart.
- AWS Cloud9 : What is it, and why use It?
- Our Hello, Cloud9 Project
- Where To Go From Here
- Further Reading
This episode: AWS Cloud9 and using a cloud IDE. In this Hello, Cloud blog series, we're covering the basics of AWS cloud services for newcomers who are .NET developers. If you love C# but are new to AWS, or to this particular service, this should give you a jumpstart.
In this post we'll introduce Cloud9 and show how to use it for .NET on AWS development. We'll do this step-by-step, making no assumptions other than familiarity with C# and Visual Studio. We're using Visual Studio 2022 and .NET 6.
AWS Cloud9 : What is it, and why use It?
"Cloud nine gets all the publicity, but cloud eight actually is cheaper, less crowded, and has a better view." —G. Carlin
"Every great platform has a great IDE." —Werner Vogels, CTO, Amazon
Your local machine isn't always the best choice for development and testing. For example, if you work on a Windows laptop but plan to deploy your .NET code Linux, you might want to code and test on a Linux machine.
AWS Cloud9 is a cloud-based Integrated Development Environment (IDE). AWS describes it as "A cloud IDE for writing, running, and debugging code". You can use it code your application, run it, and test it, using just a browser.
You might choose Cloud9 for any of these reasons:
You want to work on a different operating system than your local machine.
You need a more powerful class of machine to test your code.
You need to get at your IDE from anywhere there's a browser.
You want to collaborate with others in your IDE.
Local machine development is disallowed at your organization.
Cloud9's browser-based IDE is full-featured. It includes a code editor, debugging, and a full terminal. Although you'll need to install .NET on the instance, the code editor has support for C# syntax highlighting. You can customize editor theme and keystroke bindings. There's also a built-in image editor. Cloud9 tracks file revision history, allowing you to reference past code changes. Cloud9 also integrates with AWS CodeStart, which you can leverage for continuous integration.
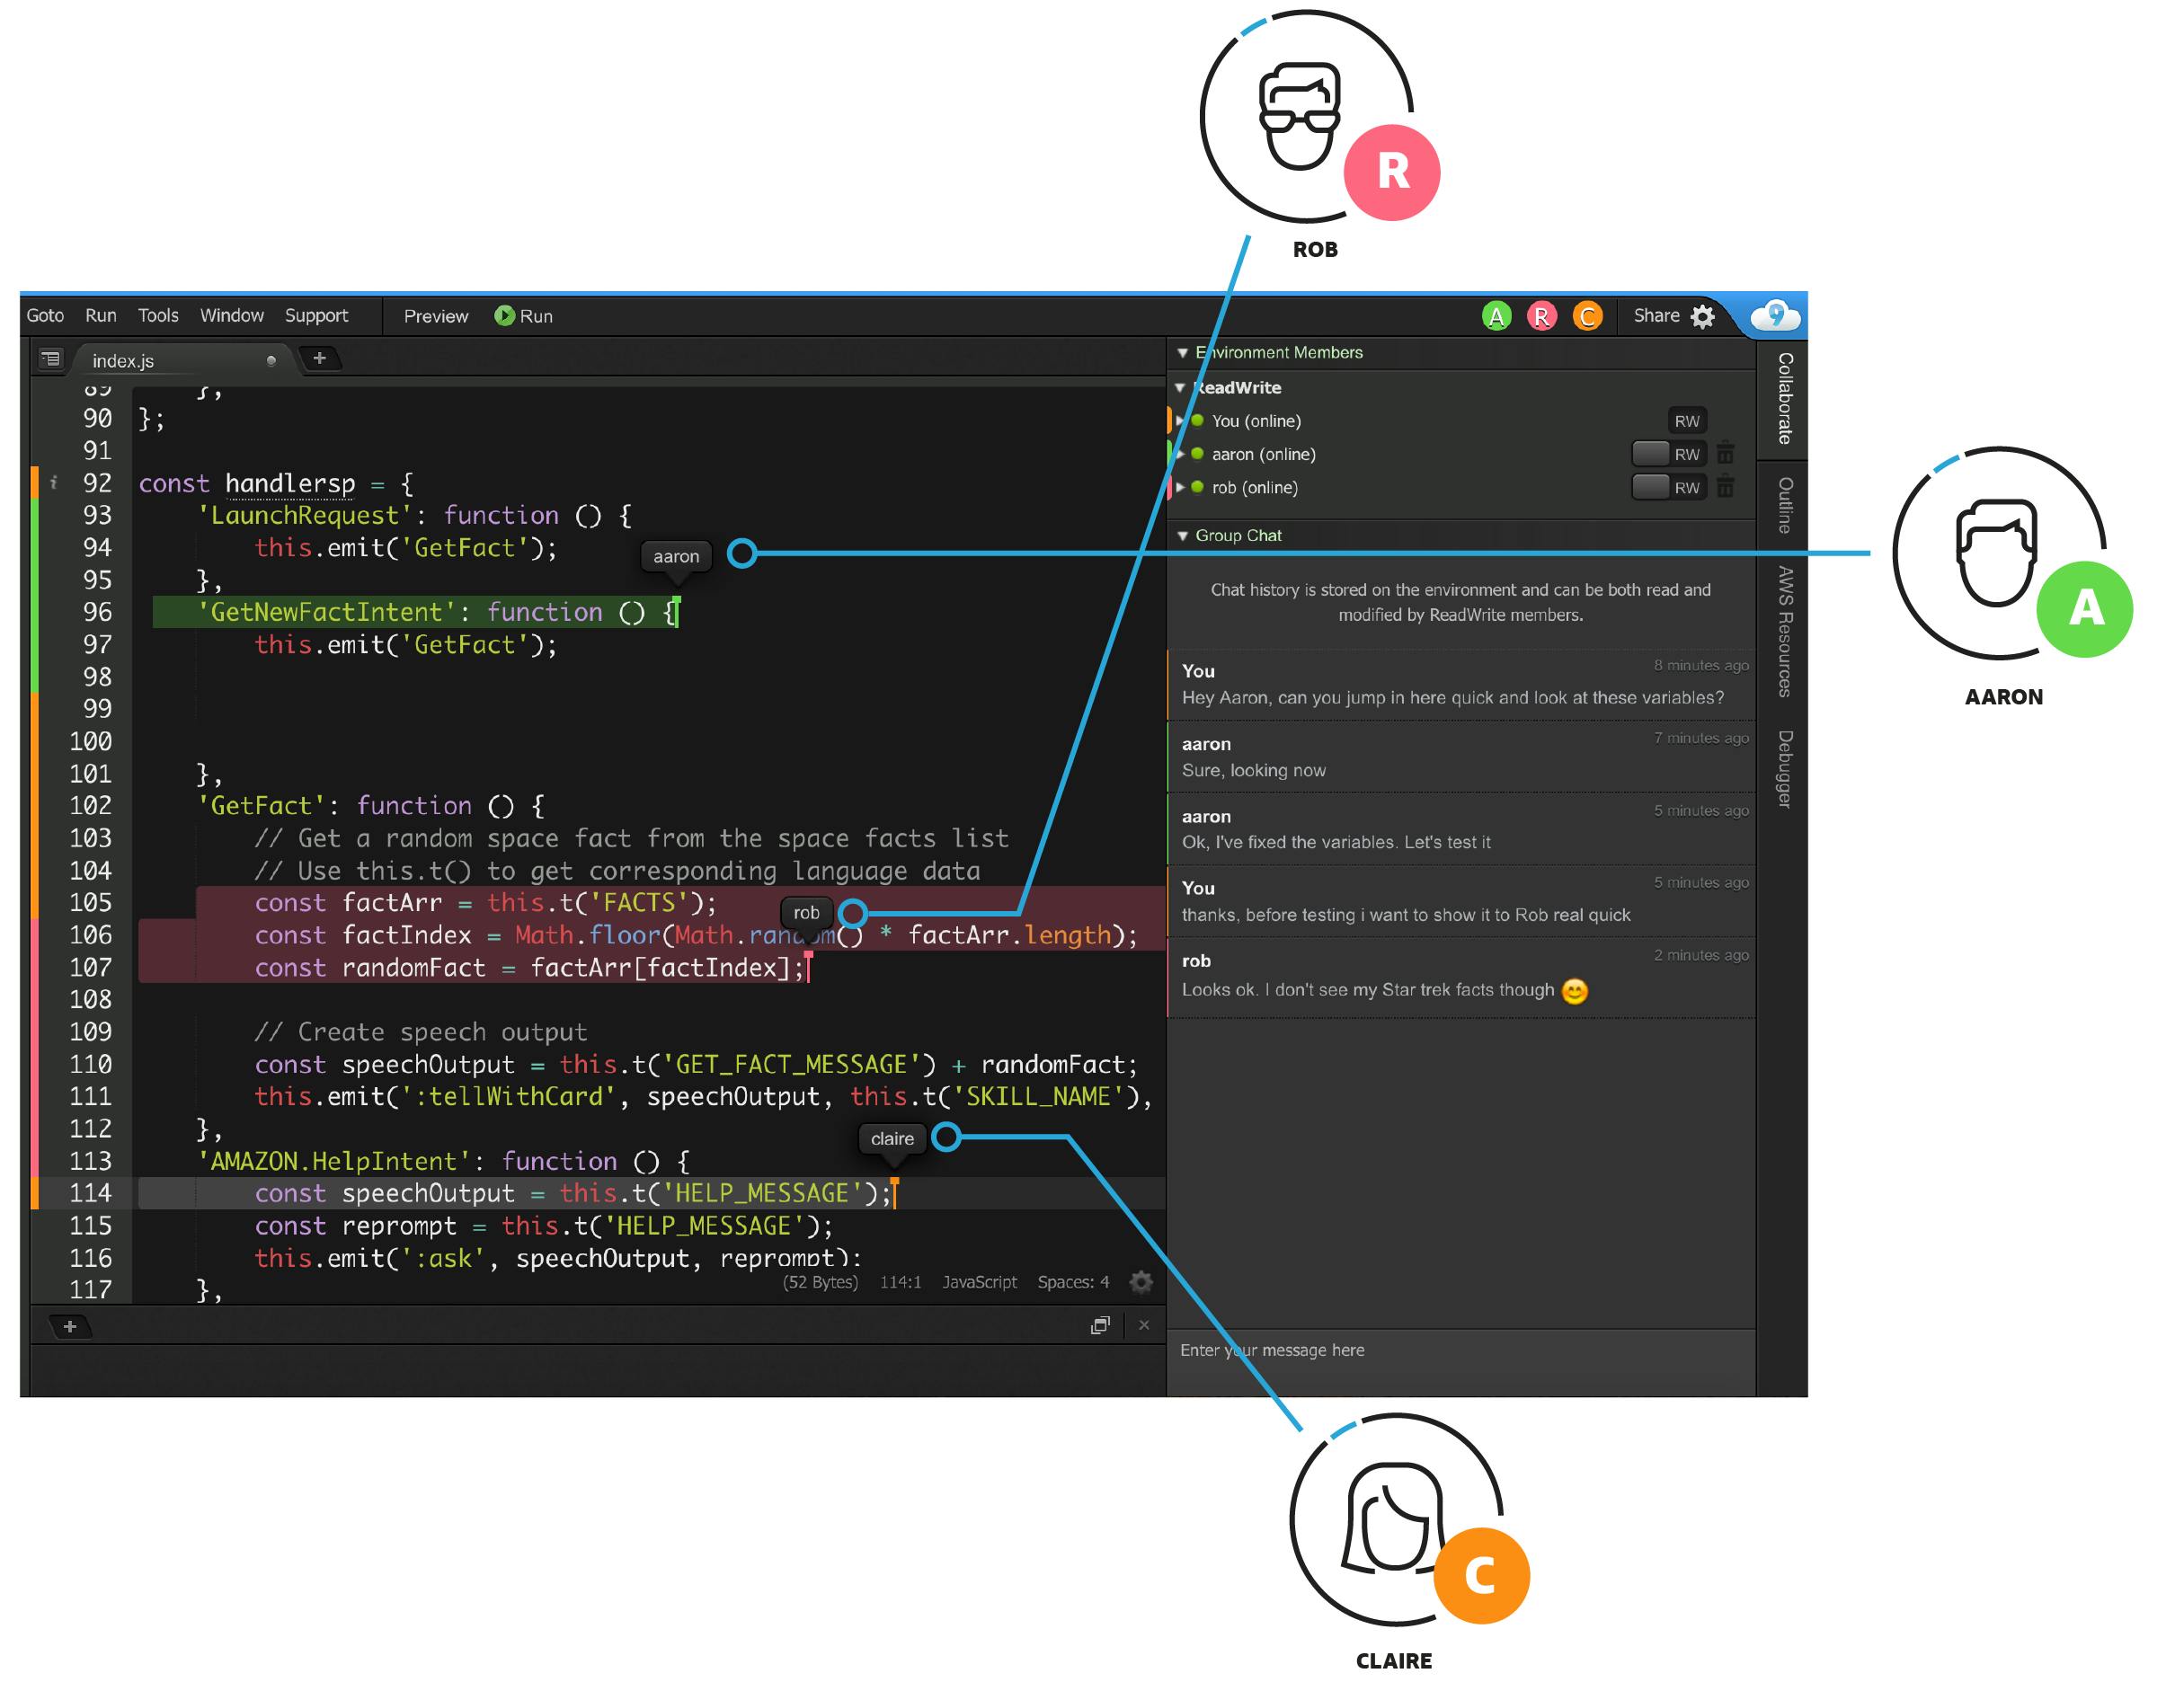
You can collaborate with others on Cloud9 by sharing the development environment with your team. You'll see each other type in real-time, and you can chat in the IDE. image source
The Cloud9 terminal windows lets you interact with your EC2 instance naturally with sudo privileges. You can run your usual dotnet commands here to create projects from templates, build your code, and run applications. If you're a Linux newbie, this is a great way for .NET developers to start getting familiar with it.
Cloud9 includes a browser tab you can use to test your web applications. There's also a local testing facility for building and debugging serverless applications.
With Cloud9 you pay only for the EC2 instance and EBS volume for your environment; Cloud9 does not bring any additional charges. You are charged the normal rates for AWS resources. See the AWS Cloud9 Pricing page for details.
Our Hello, Cloud9 Project
In this tutorial, you'll create a Cloud9 suitable for modern .NET development on AWS. Then, you'll create a webapi project and test it.
One-time Setup
You will need the following:
- An AWS account, and an understanding of what is included in the AWS Free Tier.
Step 1: Create Cloud9 Environment
In this step, you'll set up a Cloud9 environment for NET 7 development.
Sign in to the AWS console. At top right, select the region you want to work in. You can check supported regions for Cloud9 on the AWS Regional Services List page. I'm using us-west-2 (Oregon).
Navigate to Cloud9 and click Create environment.
A. Give the environment a name, such as Test.
B. On the New EC2 Instance, choose the EC2 instance size to create. For getting familiar, I recommend the default free tier t2.micro instance. If you choose a larger size, be mindful of the rate you will be charged.
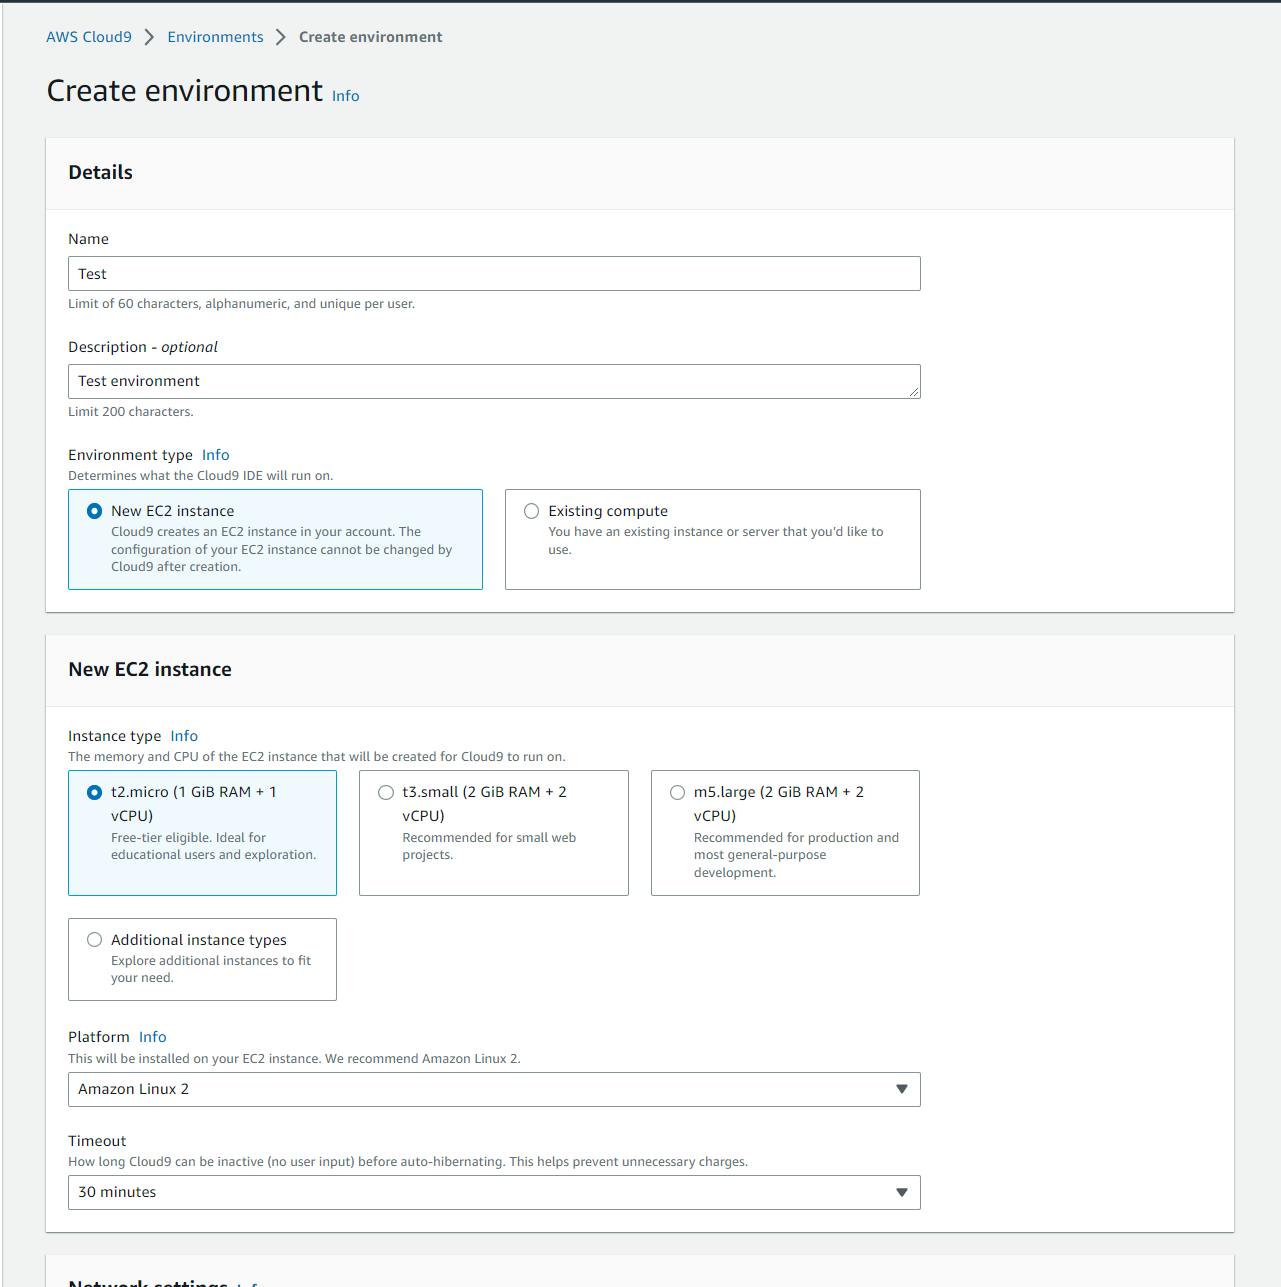
C. Click Create.
D. Wait for the environment to be created, which will take several minutes.

Note: If environment creation fails because the t2.micro instance type is not available in the region, repeat the above steps and select a different small instance type, such as t3-small.
Step 2: Get Familiar with the IDE
In this step, you'll get familiar with the IDE.
In the AWS console, on the AWS Cloud9 > Environments page, click the Open link next to your environment.

If AWS needs to start up your EC2 instance, you'll see a message like this and have a brief wait.
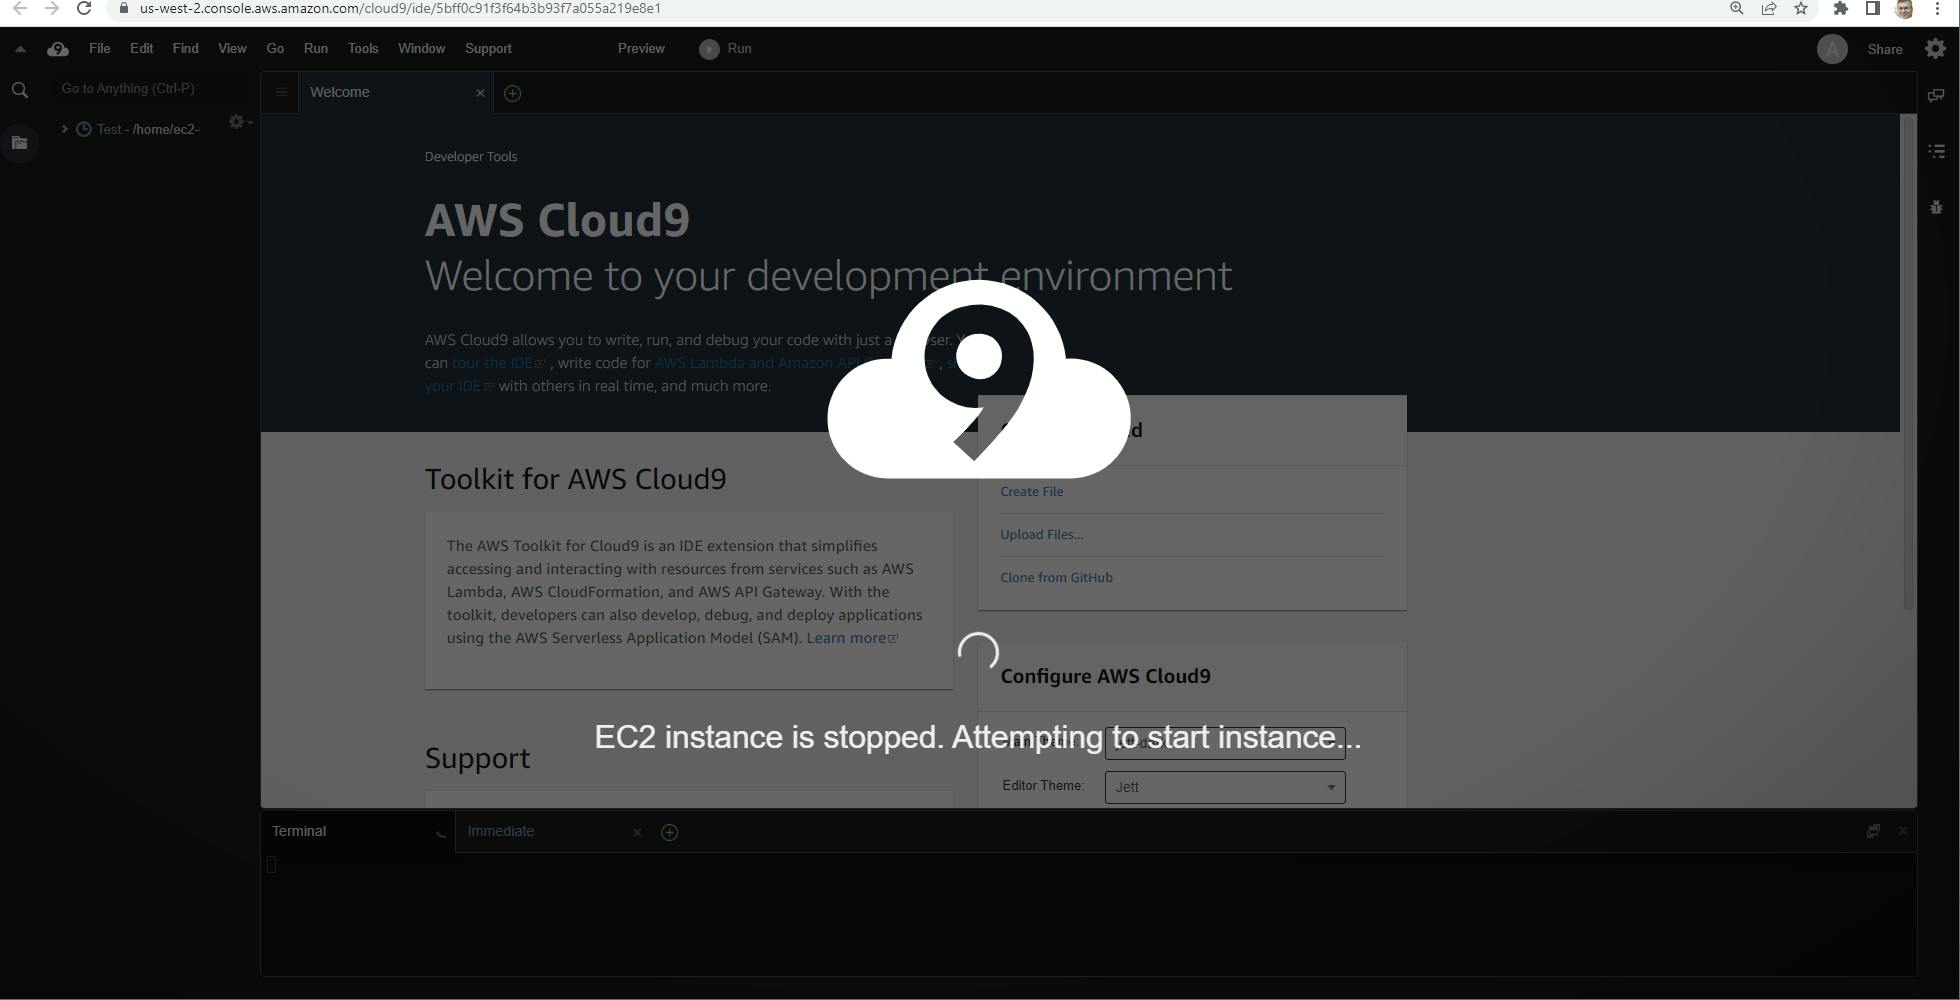
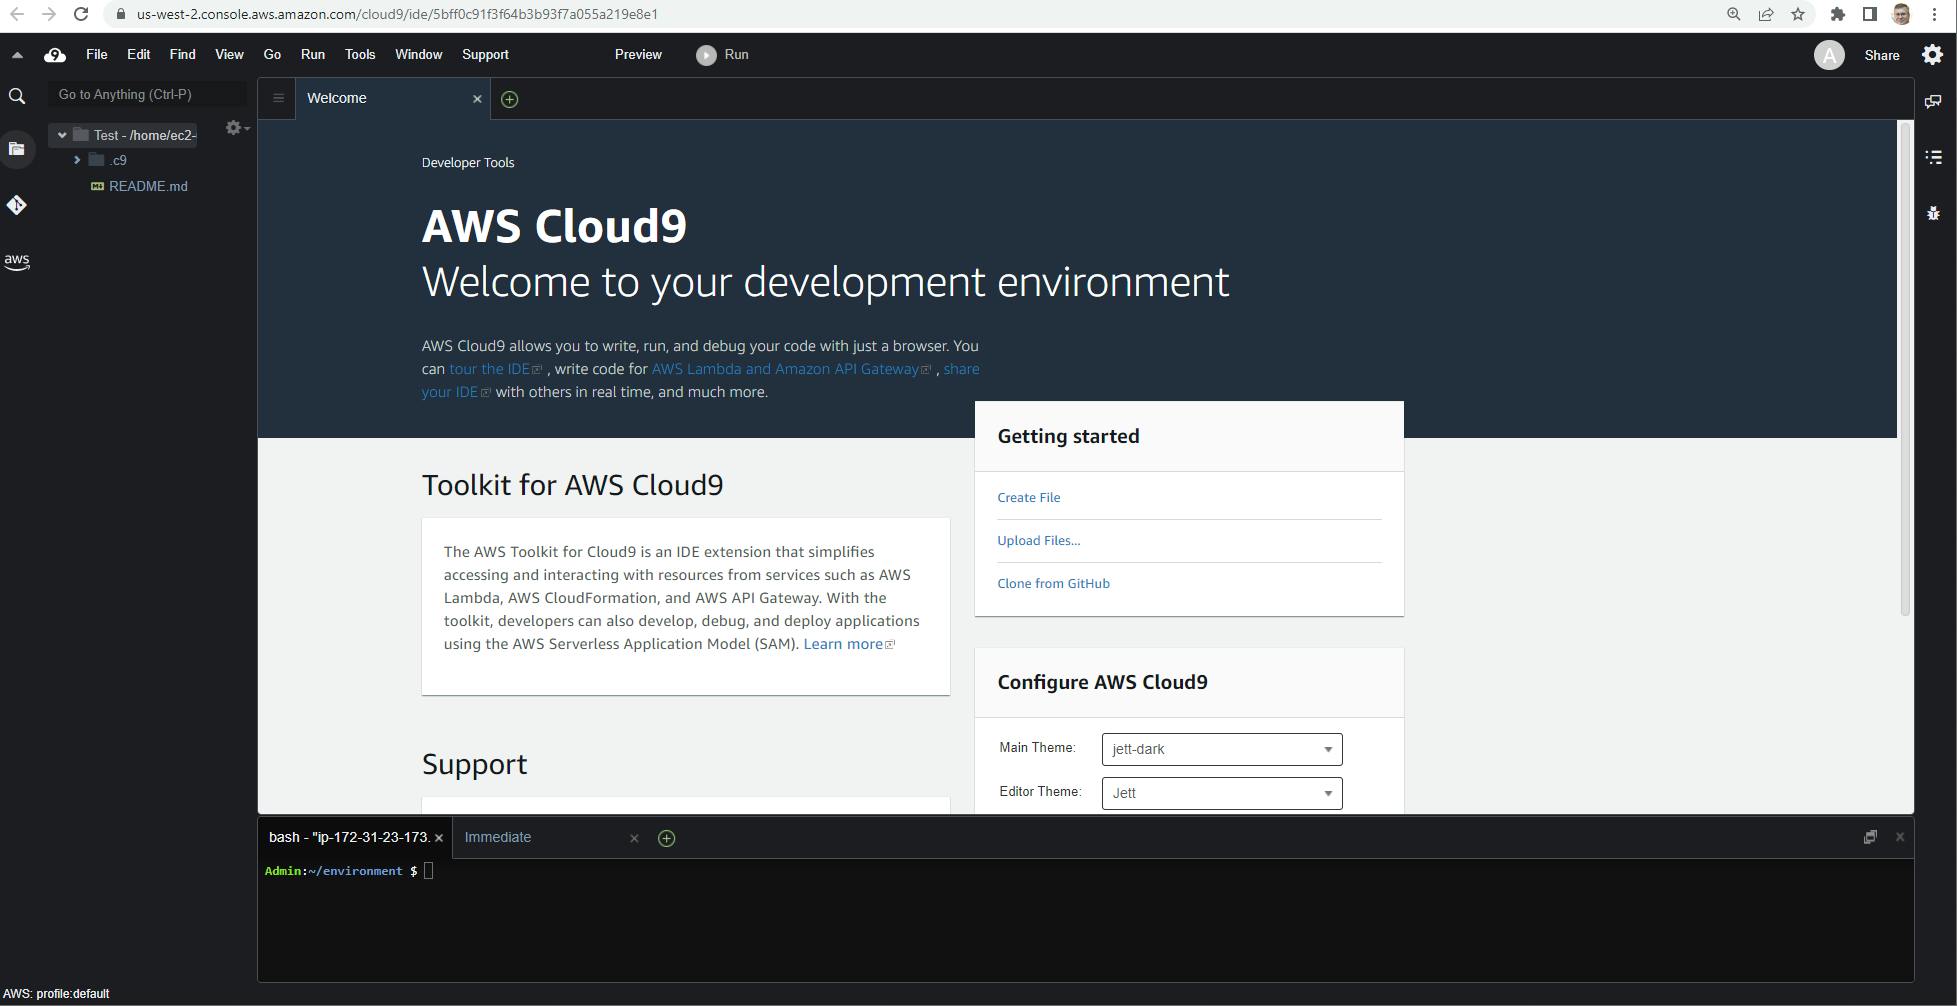
Soon, you'll be in your Cloud9 environment.

Get familiar with the environment.
Take a look around. Most of the display is a Welcome tab. You'll be able to open up other tabs for editing code and testing your app. On the Welcome tab, you have links to the documentation, and can configure preferences such as theme.
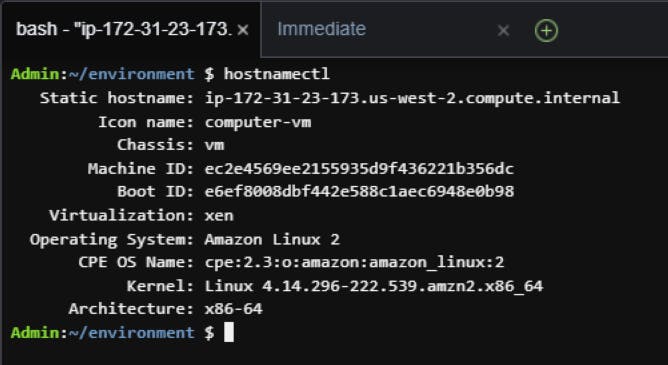
Below the Welcome tab is a terminal window with the Bash shell, and a splitter bar you can use to change its size. Run the command hostnamectl to see the Linux distribution and version this instance is running, which for me is Amazon Linux 2, kernel 4.14.296-222.539.amzn2.x86_64.
There's a menu at top, and Preview and Run buttons. The Run button lets you run or debug your application. The preview button lets you test your application in a browser tab.
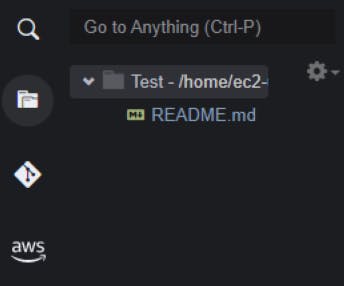
There are icons on the left and right sides of the screen that open different panes. A pane already open on the left side is a file explorer. Later, we'll also open up an AWS Explorer.
Configure your AWS account. In the Bash terminal window, run AWS configure and configure it for your AWS account. If you don't already have an access key ID and secret key, you can generate credential keys for your user in the AWS Console, under IAM > Users.
aws configure
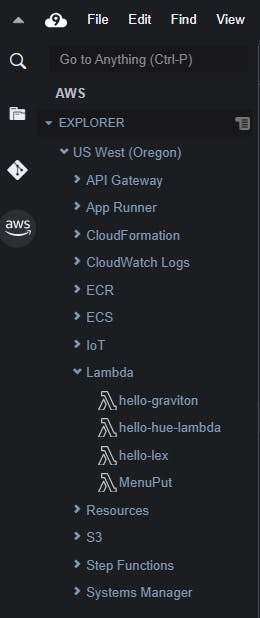
On the left side of the screen, click the AWS logo. AWS explorer will open. Confirm you can view your AWS resources.
Step 3. Install the .NET SDK
In this step, you'll run commands in the Bash terminal window to install the .NET SDK and runtimes, and to update environment variables. We'll be following the command documented at .NET Core sample for AWS Cloud9, Steps 1 and 2.
Check whether dotnet is already installed by running dotnet --version. If it is and has the version you want to work with, you can skill the rest of this step.
dotnet --versionRun the commands below to ensure the latest security updates are applied.
sudo yum -y update sudo yum -y install libunwind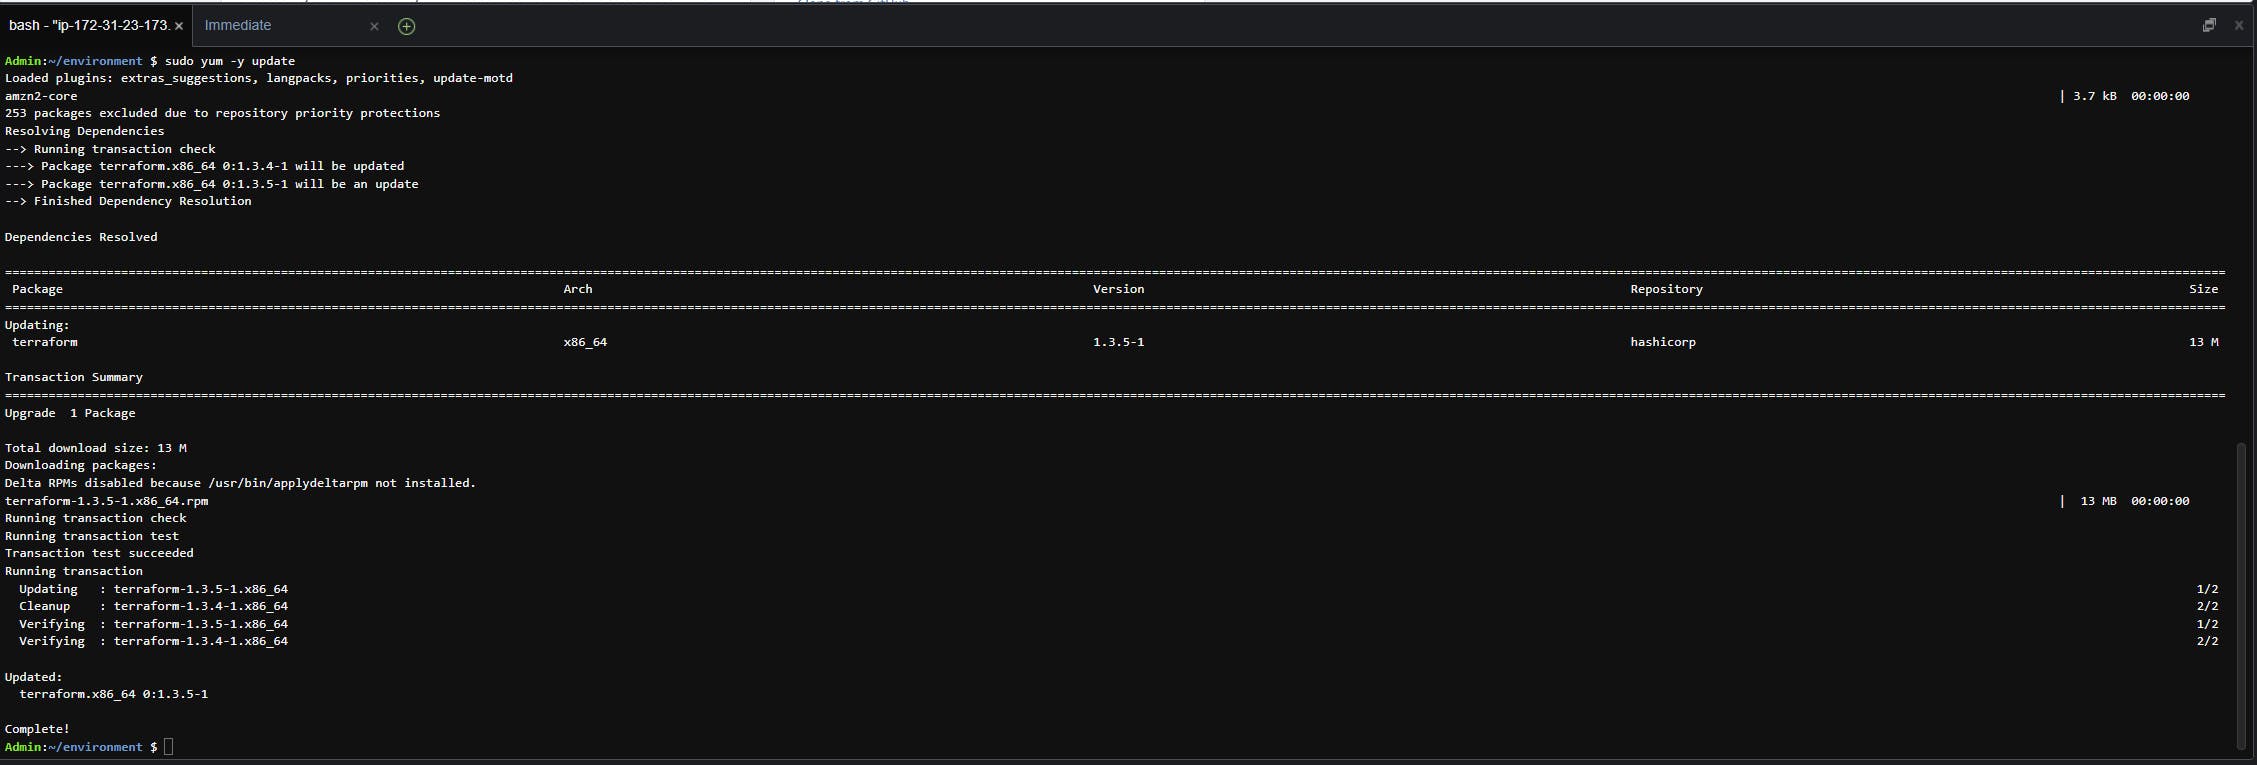

Run the command below to download the .NET Code SDK installer script.
wget https://dot.net/v1/dotnet-install.sh
Run the chmod command below to make the installer script executable.
sudo chmod u=rx dotnet-install.shRun the installer script. If you want the latest .NET (.NET 7 as of this writing), use the command below:
./dotnet-install.sh -c CurrentIf you prefer to install the latest Long-Term Support (LTS) release (.NET 6), run this command instead:
./dotnet-install.sh -c LTS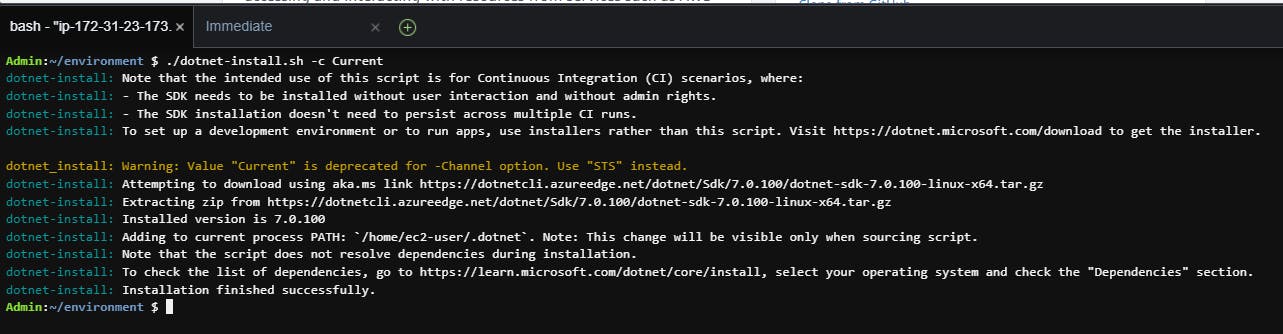
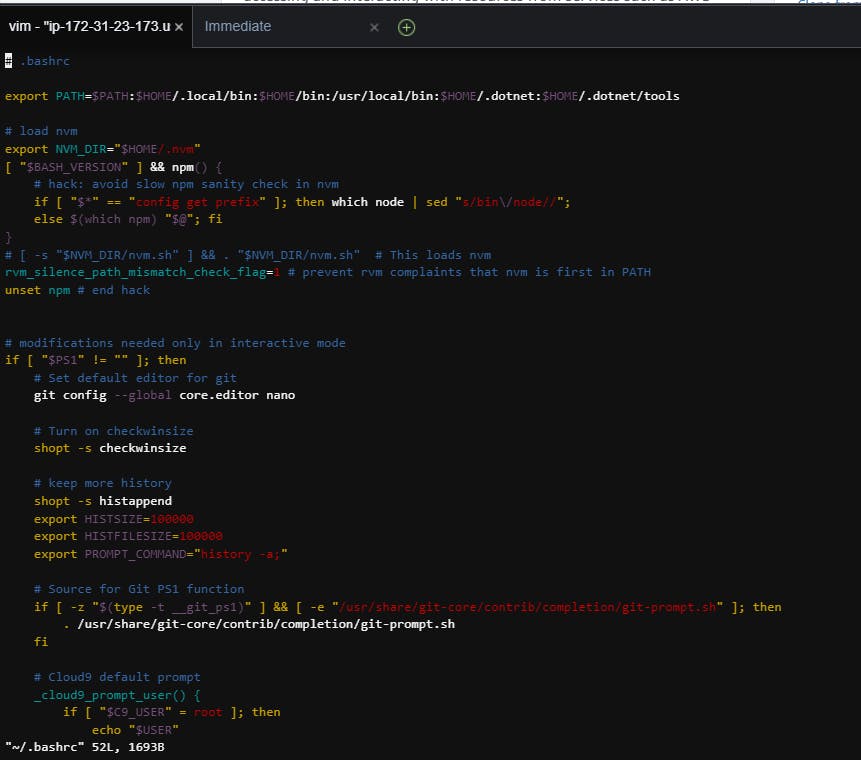
Add the .NET SDK to your path. Run the command below to open the file ~/.bashsrc in the vi editor.
vi ~/.bashrcA. Use the down arrow key to move to the line that starts with export PATH.
B. Press your INSERT key. You'll see -- INSERT -- displayed at the bottom left.
C. Use the right arrow or $ key to move to the end of the line.
D. Add the following to the end of the line: :$HOME/.dotnet:$HOME/.dotnet/tools
E. On the next line, insert this line: export DOTNET_ROOT=$HOME/.dotnet.
F. Save the file, by pressing ESCAPE and then :wq [ENTER].
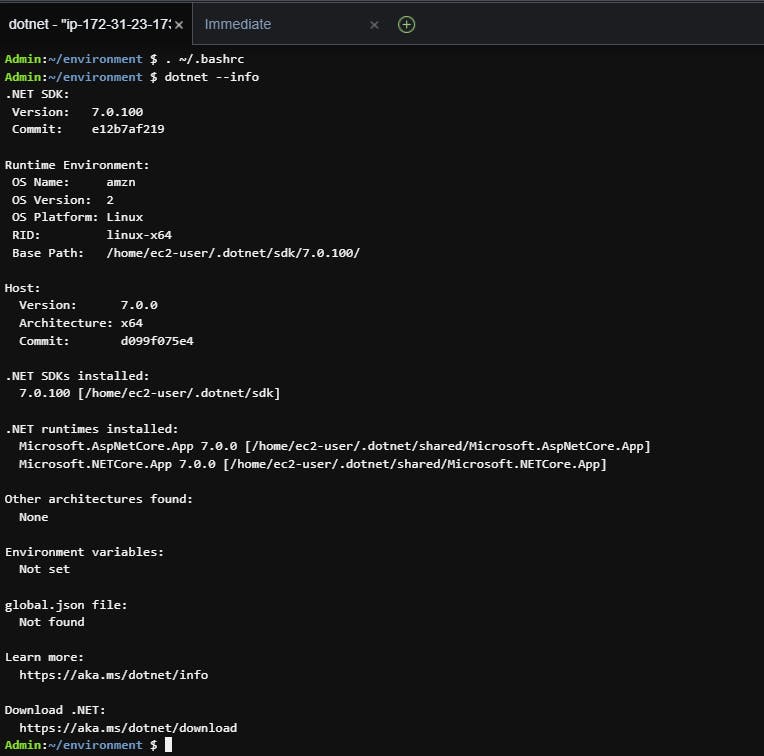
Run the command to load the .NET SDK by sourcing the .bashsrc file:
. ~/.bashrcRun the dotnet --info command to confirm dotnet is installed.
Install the .NET deploy tools:
dotnet tool install -g aws.deploy.tools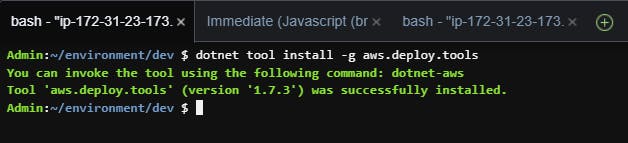
That was a bit to do, but .NET is installed and you are now equipped for .NET development on Cloud9.
Step 4. Create a .NET Web API Project
In this step, you'll create a .NET WebAPI project with the dotnet new commanf.
In the Bash terminal window, run the commands below to create a development folder and cd to it. Notice the dev folder is now visible in the File Explorer at top left.
mkdir dev cd dev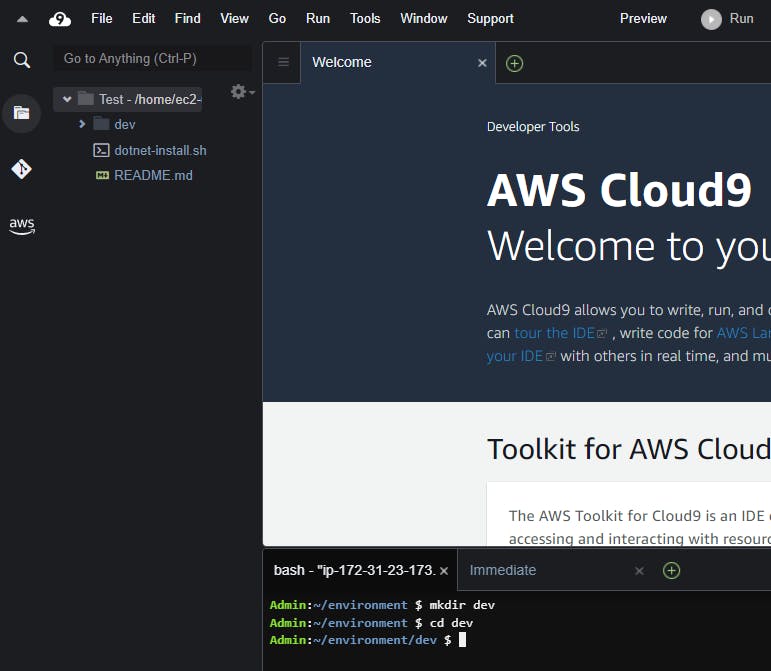
Run the dotnet new command below to generate a WebAPI project. You see generated project files and folders in the File Explorer.
dotnet new webapi -n HelloCloud9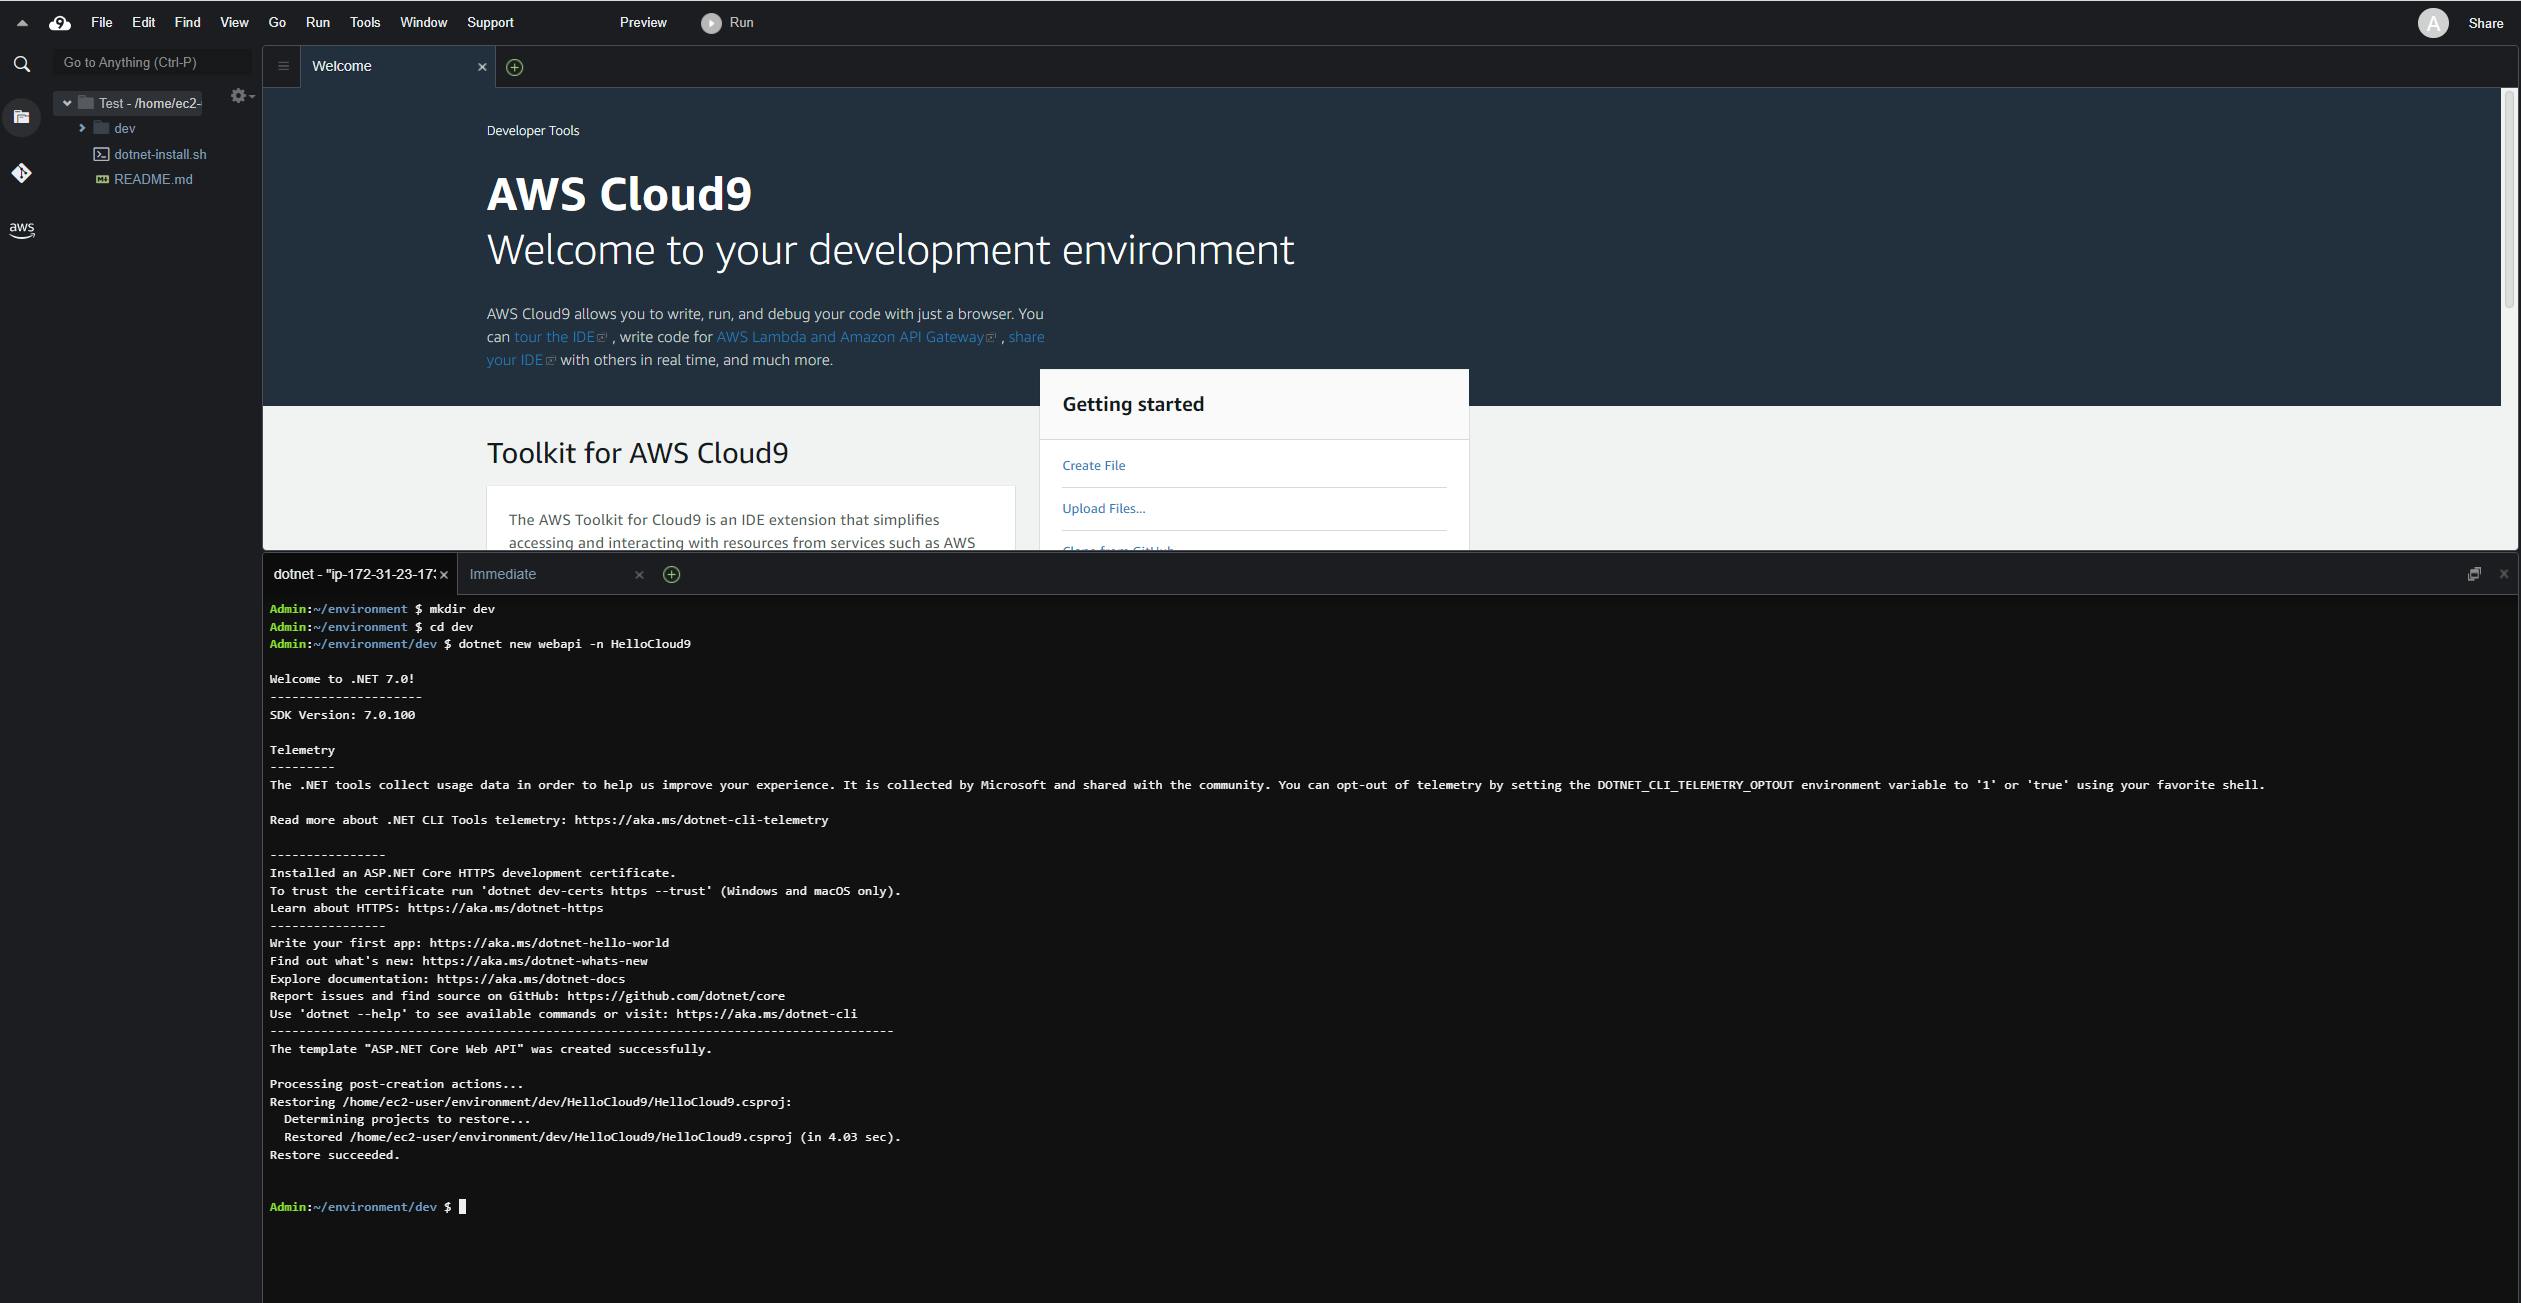
CD to the HelloCloud9 folder.
cd HelloCloud9In the File Explorer, expand the folders and double-click dev/HelloCloud9/Controllers/WeatherForecast.cs. Now you are editing the C# code in the Cloud9 IDE.
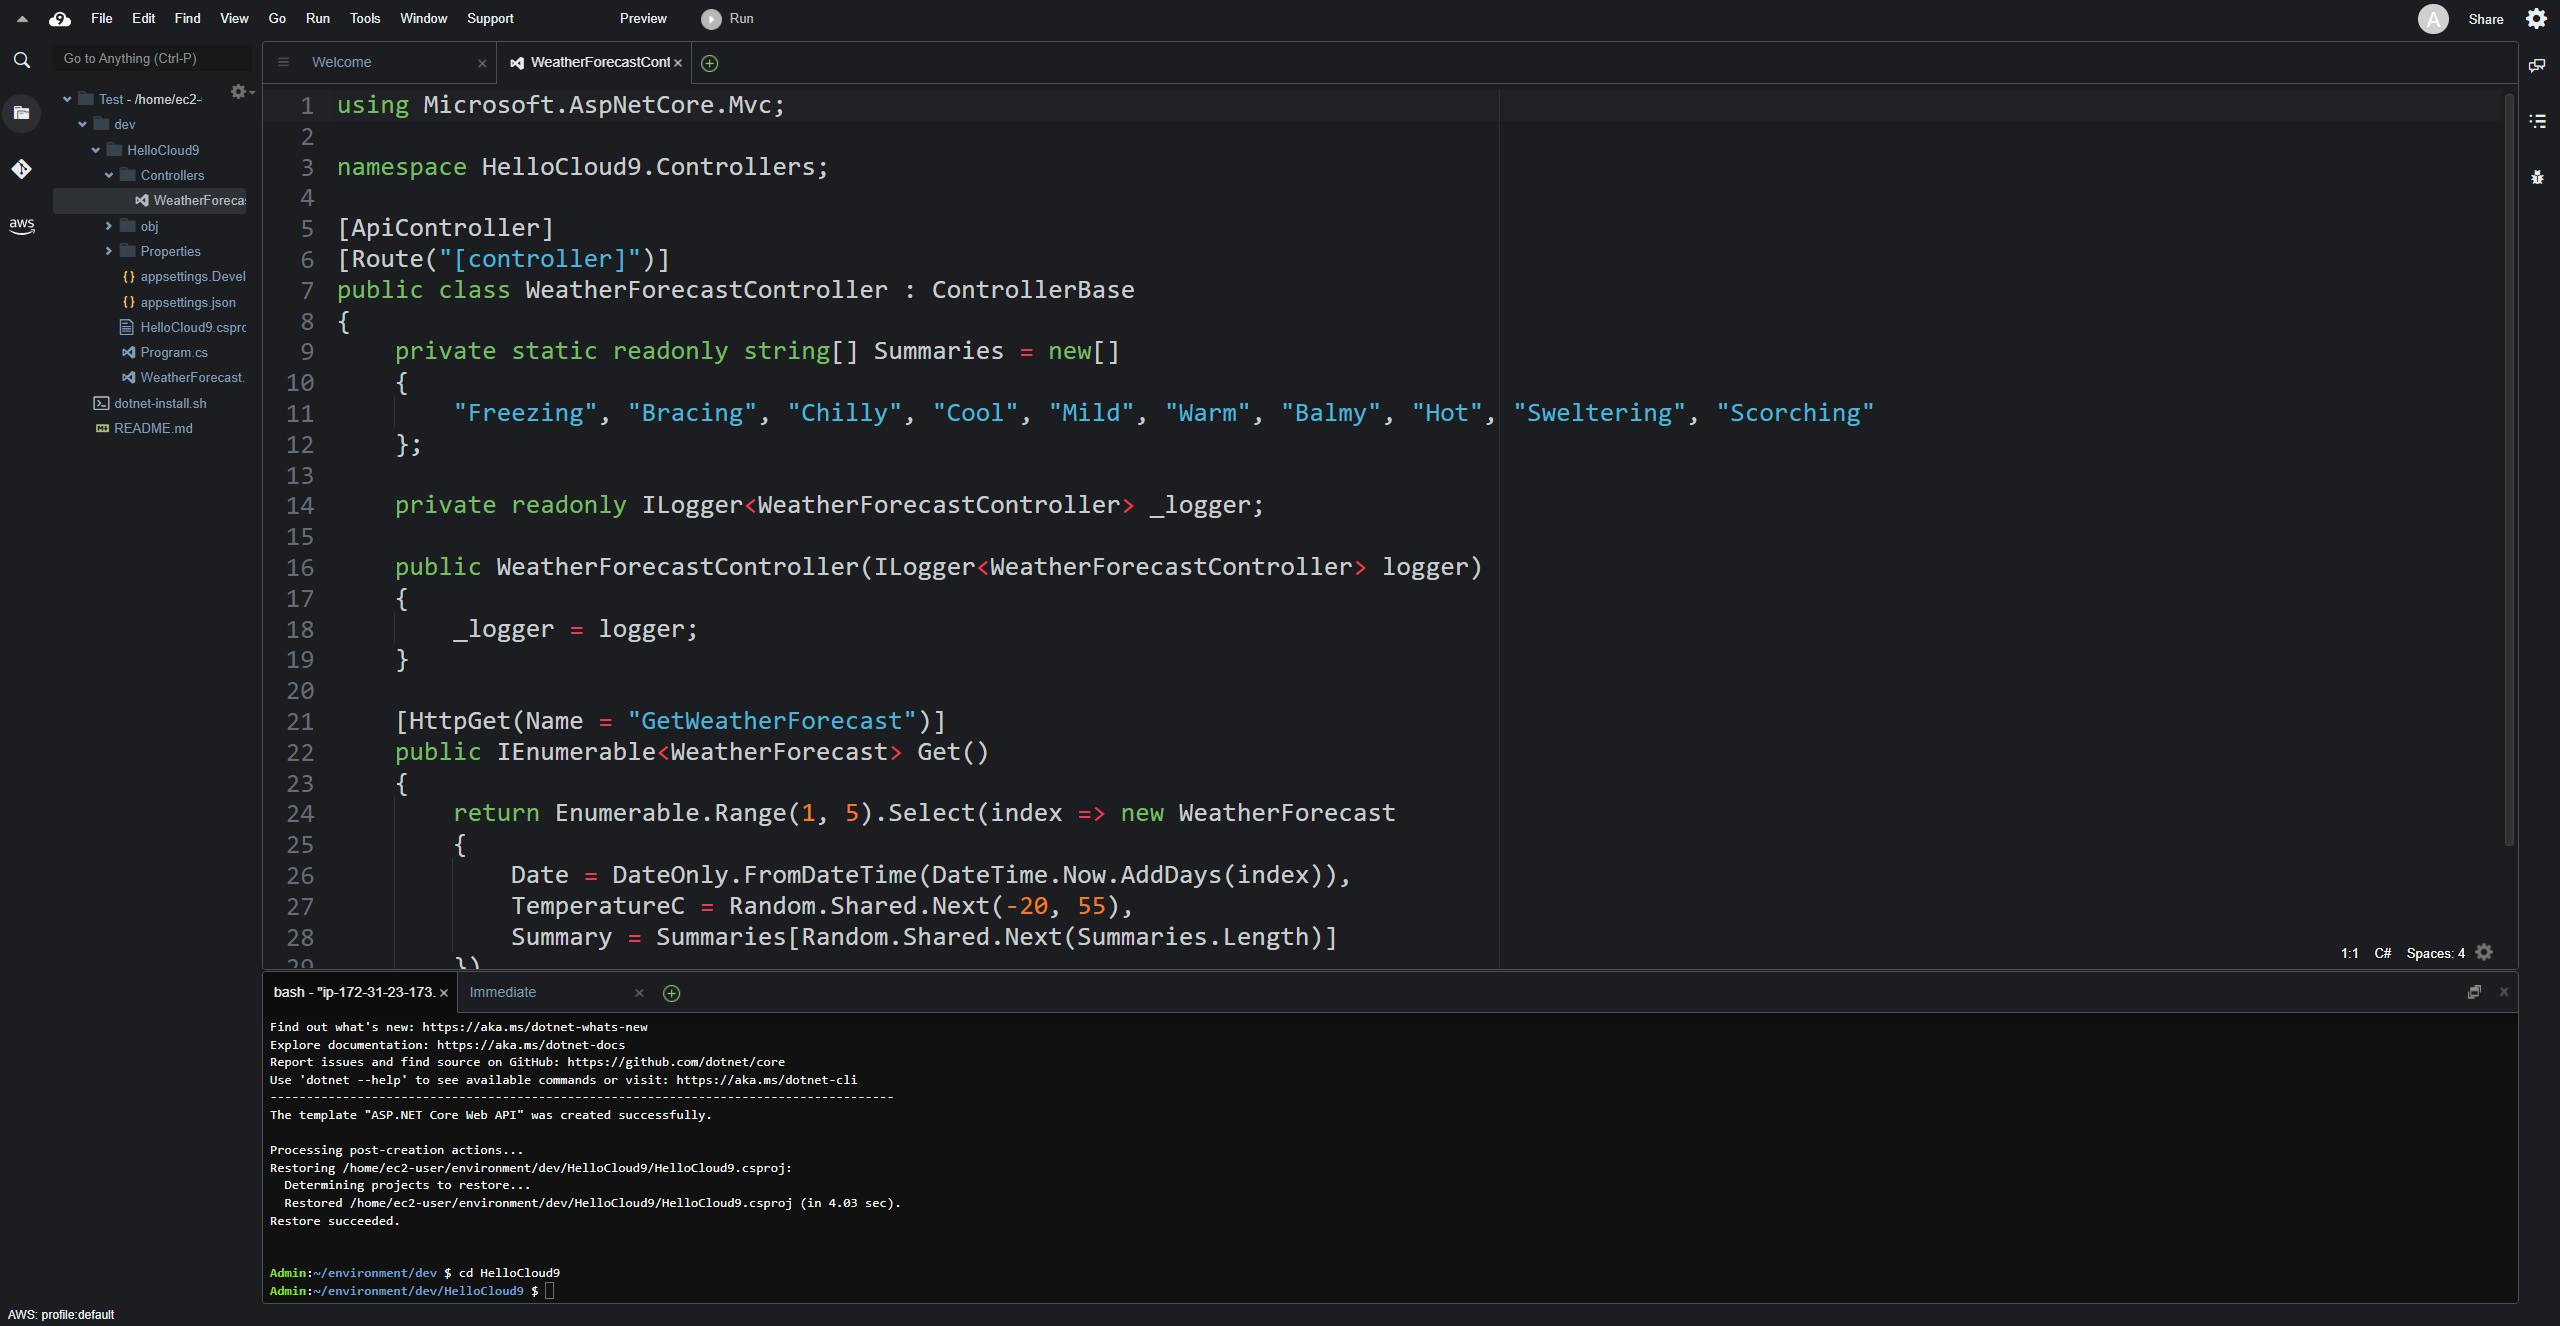
If you like, make changes to the code or data. This is optional. If you do make changes, click Ctrl+S to save them.
In the File Explorer, double-click appsettings.json. The file opens in another IDE code editor tab. Add the Kestrel section below, and press Ctrl+S to save your changes. We're doing this because Cloud9 can only run applications on HTTP over port 8080, 8081, or 8082, with the IP address of 127.0.0.1, localhost, or 0.0.0.0.
{
"Logging": {
 "LogLevel": {
   "Default": "Information",
   "Microsoft.AspNetCore": "Warning"
 }
},
"AllowedHosts": "*",
"Kestrel": {
 "Endpoints": {
   "Http": {
     "Url": "http://localhost:8080"
   }
 }
}
}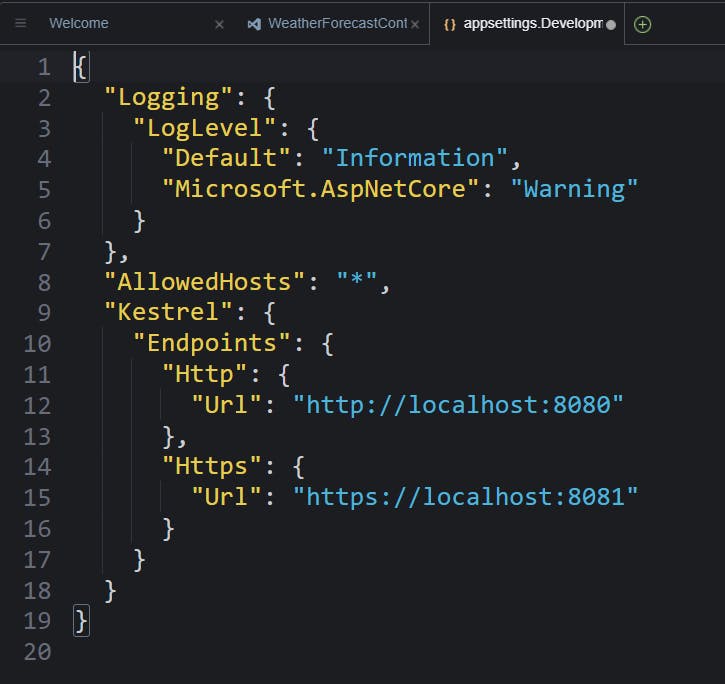
Step 5: Build, Run, and Test the Web API Project
In this step, you'll build your project, run it, and test that it responds.
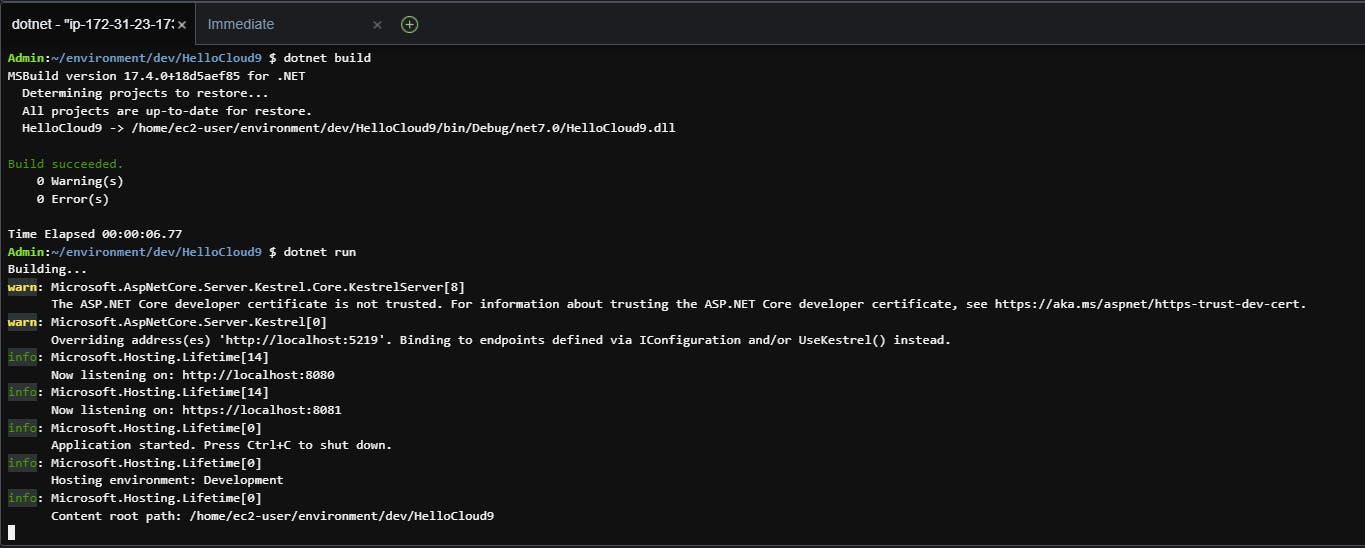
In the Bash terminal window, run dotnet build and dotnet run to build and run the application. You see confirmation the service is running on HTTP over port 8080.
At the top of the screen, right click Run and select New run configuration.
A. In the tab that opens, set Command to dotnet run.
B. On the right side of the tab, click CWD and select the HelloCloud9 folder.
C. Click the Run button on the left. The dotnet run command executes, and you see confirmation the service is listening at localhost:8080.
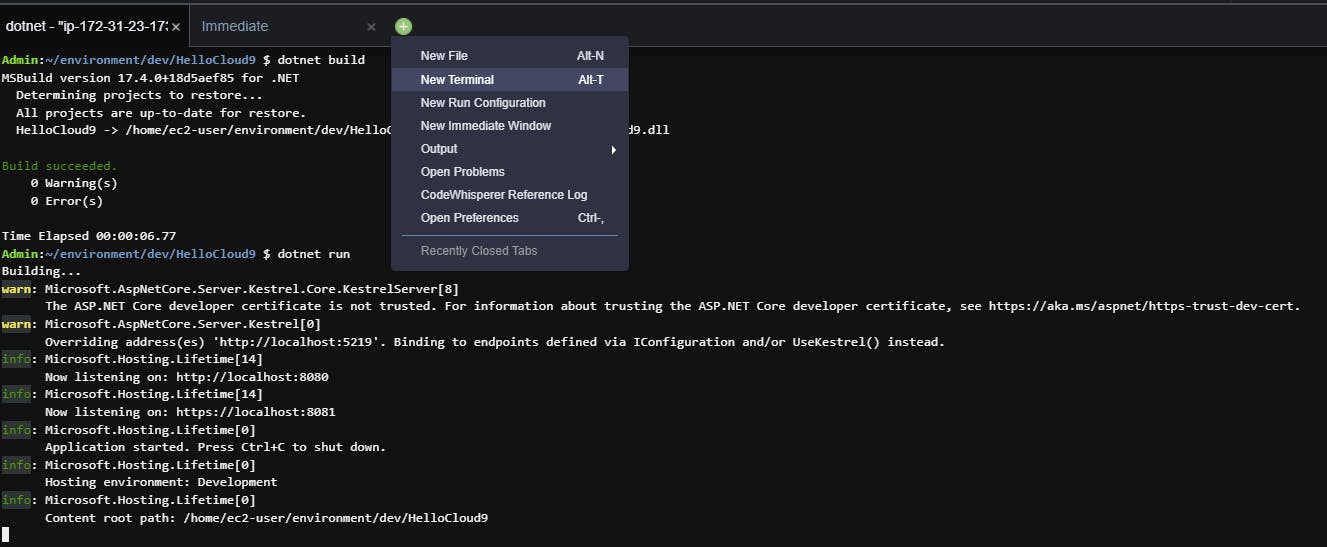
Let's test the API from another terminal window. To the right of lower set of tabs where the Bash terminal window is, click the Plus sign (+) and select New Terminal. A new terminal window tab opens.
In the new terminal window, run the curl command below to test accessing the service.
curl -v http://localhost:8080/WeatherForecast
You see the output from the API displayed. Congratulations! You've used Cloud9 to develop and run a .NET application.
Step 6: Deploy to AWS
Now we can deploy our Web API project to AWS.
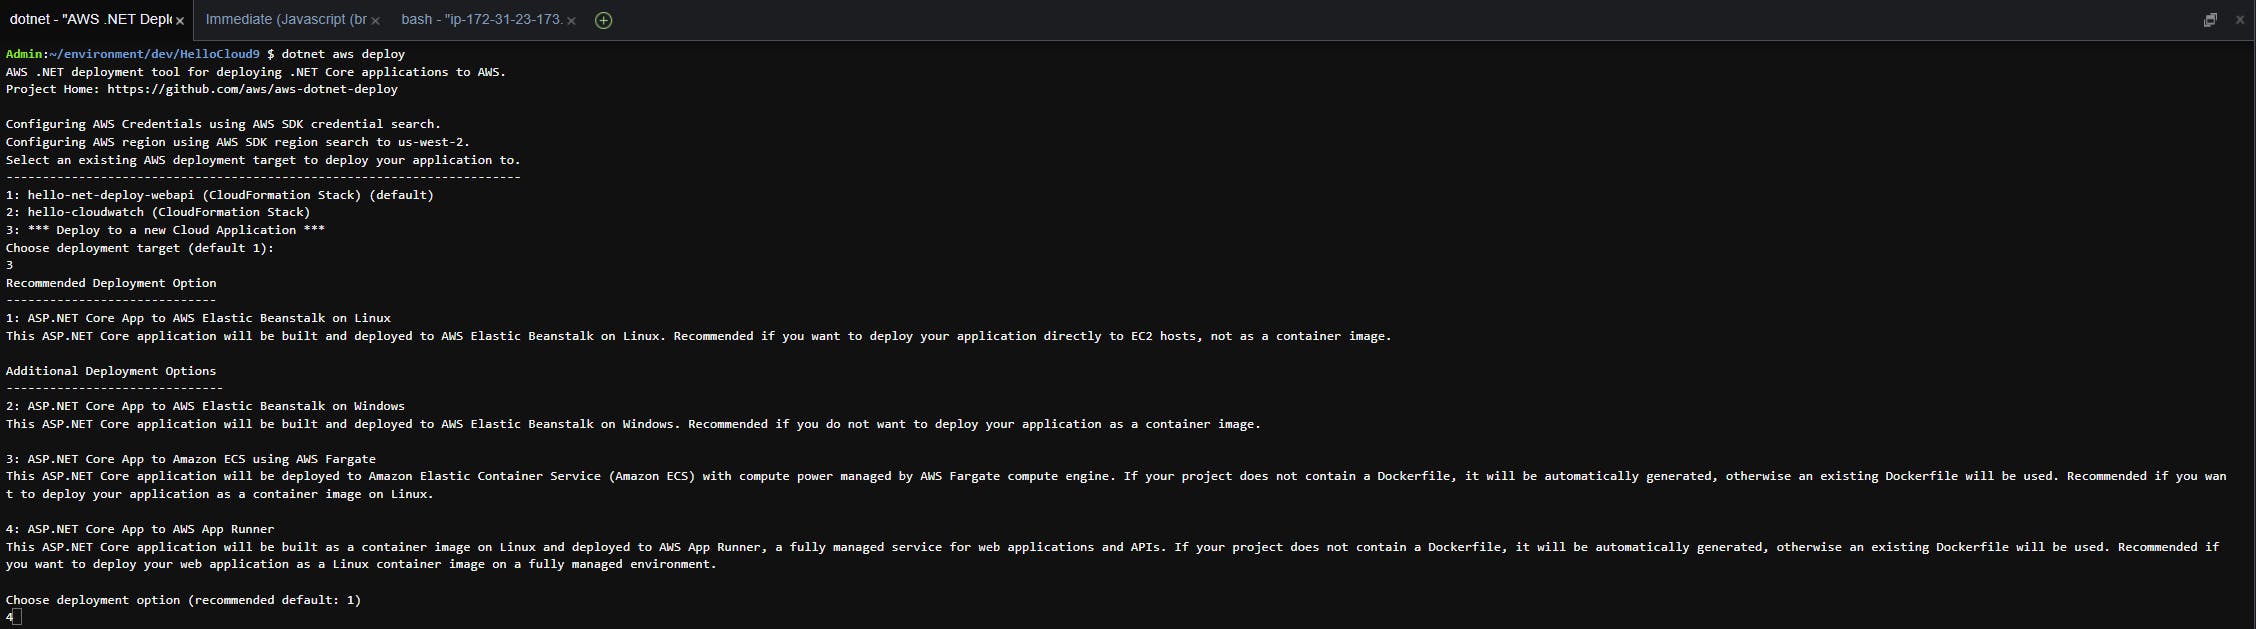
In the Bash terminal window, run the dotnet aws deploy command.
dotnet aws deployRespond to the prompts. Choose a new cloud application deployment and select a destination service. I selected AWS App Runner.
Complete the wizard, accepting defaults.
Wait for deployment to complete, and note the endpoint URL.
Refresh the AWS Explorer, and you will see you HelloCloud9 App Runner service listed.
In a browser tab, visit the endpoint URL with /WeatherForecast at the end of the path.
Step 7: Shut it Down
When you are done with this tutorial, deallocate the AWS resources. You don't want to be charged for something you're not using.
In the AWS console, navigate to App Runner and delete the HelloCloud9 service.
In the AWS console, navigate to Cloud9 and delete the Test environment.
Where To Go From Here
AWS Cloud9 is a powerful, easy to use cloud-based IDE. For the .NET developer, it allows you to code and test modern .NET apps on Linux, and get familiar with Linux. In this tutorial, you created a Cloud9 environment, learn a little bit about it, and installed .NET. You generated, edited, built, ran, and tested the app locally. Then, you deployed it to AWS.
To go further, learn more about Cloud9 by reviewing the documentation and other resources linked below.
Further Reading
AWS Documentation
Previewing running applications in the AWS Cloud9 Integrated Development Environment (IDE)
AWS SDK for .NET Documentation
Videos
Introducing AWS Cloud9 - AWS re:Invent 2017
Blogs