

Hello, Mechanical Turk!
Getting Started with .NET on AWS: Amazon Mechanical Turk


Table of contents
- This episode: Amazon Mechanical Turk and crowd-sourcing human intelligence tasks. In this Hello, Cloud blog series, we're covering the basics of AWS cloud services for newcomers who are .NET developers. If you love C# but are new to AWS, or to this particular service, this should give you a jumpstart.
- Mechanical Turk : What is it, and why use It?
- Our Hello, MTurk Project
- Where to Go From Here
- Further Reading
This episode: Amazon Mechanical Turk and crowd-sourcing human intelligence tasks. In this Hello, Cloud blog series, we're covering the basics of AWS cloud services for newcomers who are .NET developers. If you love C# but are new to AWS, or to this particular service, this should give you a jumpstart.
In this post we'll introduce Amazon Mechanical Turk and use it in a "Hello, Cloud" .NET program to crowd-source human intelligence tasks. We'll do this step-by-step, making no assumptions other than familiarity with C# and Visual Studio. We're using Visual Studio 2022 and .NET 6.
Mechanical Turk : What is it, and why use It?
“Crowdsourcing is a great way to approach creation because in any given point there's always somebody on the Internet who knows something better than you do.” —Guy Kawasaki"
Despite advances in automation and machine intelligence, some tasks are simply done better by human beings. That includes content moderation, de-duping data, and research. Crowdsourcing is a way to tackle a really big problem by dividing it into discrete pieces. If you can define your need as simple, repetitive micro-tasks, crowdsourcing lets you engage a large virtual workforce temporarily and affordably. For example, if you had a catalog with thousands or millions of items, you might employ crowdsourcing to correct information or find duplicates, giving each worker one product item to perform a task on.
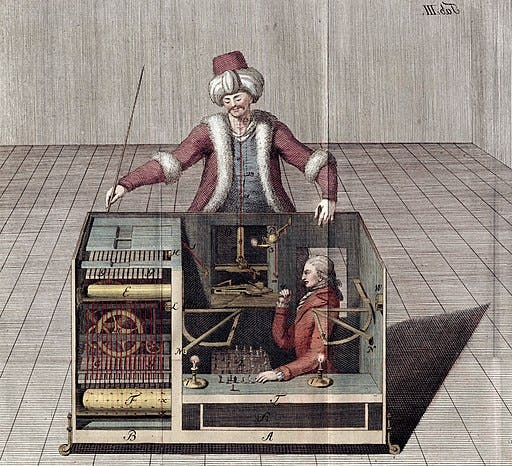
Before we get into what Amazon Mechanical Turk is, let's explain the name. This is a reference to the "Mechanical Turk" of 1770 by Wolfgang von Kempelen. It appeared to be a chess-playing robot. In fact, there was an actual person hidden in the cabinet, a chess master who was making the moves. The Turk was exhibited across Europe and America for decades. Notable people who played it and lost to it include Napoleon Bonaparte and Benjamin Franklin.
Amazon Mechanical Turk (hereafter "MTurk") is a crowdsourcing service that gives you access to an elastic crowd of human intelligence and skill, via an API. Amazon describes it as, "a crowdsourcing marketplace that makes it easier for individuals and businesses to outsource their processes and jobs to a distributed workforce who can perform these tasks virtually."

You can use MTurk for batch work or in an event-driven context.
- In batch mode, you start with a dataset and submit a batch of tasks. For example, nightly processing to dedupe or validate new data entry before updating a data store.
- In event-driven mode, you integrate MTurk into your business workflow. You use the API to trigger tasks when an event occurs. You can use SNS notifications when tasks complete to perform the next round of processing, which you might do with AWS Lambda functions. For example, if an algorithm can't come up with recommendations, you could fall back on human intelligence tasks.
Concepts
- A requester is a person or business who needs tasks completed.
- Workers are people who want to earn money who are willing to perform those tasks.
- A human intelligence task (HIT) is a self-contained task, such as "what color is this dress?" or "are these two objects the same?".
- An assignment gives the same task to multiple people. You might do this to get consensus on a task.
Pricing
What does all this cost? You will be charged an amount to pay workers, plus a percentage fee you pay MTurk. Additional fees are charged when you require workers with qualifications, such as a college graduate, homeowner, parent, online purchaser, or voter. See the Amazon Mechanical Turk pricing page for details.
There's a developer sandbox you can use to test MTurk without incurring charges. It allows you to simulate a requester and a worker.
Our Hello, MTurk Project
We will write a .NET program that can create HITs and get results using the AWS SDK for .NET. The HIT we'll create will ask workers what is their favorite flavor of ice cream. We'll run this in the MTurk developer sandbox to avoid any charges.


One-time Setup
For any of the tutorials in the Hello, Cloud series you need the following:
- An AWS account, and an understanding of what is included in the AWS Free Tier.
- Microsoft Visual Studio 2022. If you're using an older version of Visual Studio you won't be able to use .NET 6. If you use a different IDE, you may have to find alternatives to some tutorial steps.
- AWS Toolkit for Visual Studio. You'll need to configure the toolkit to access your AWS account and create an IAM user. Your default AWS profile will be linked to this user when running programs from the command line.
Step 1: Create an MTurk Account integrated with your AWS Account
In this step, you'll sign up with MTurk as a requester and link the MTurk account to your AWS account.
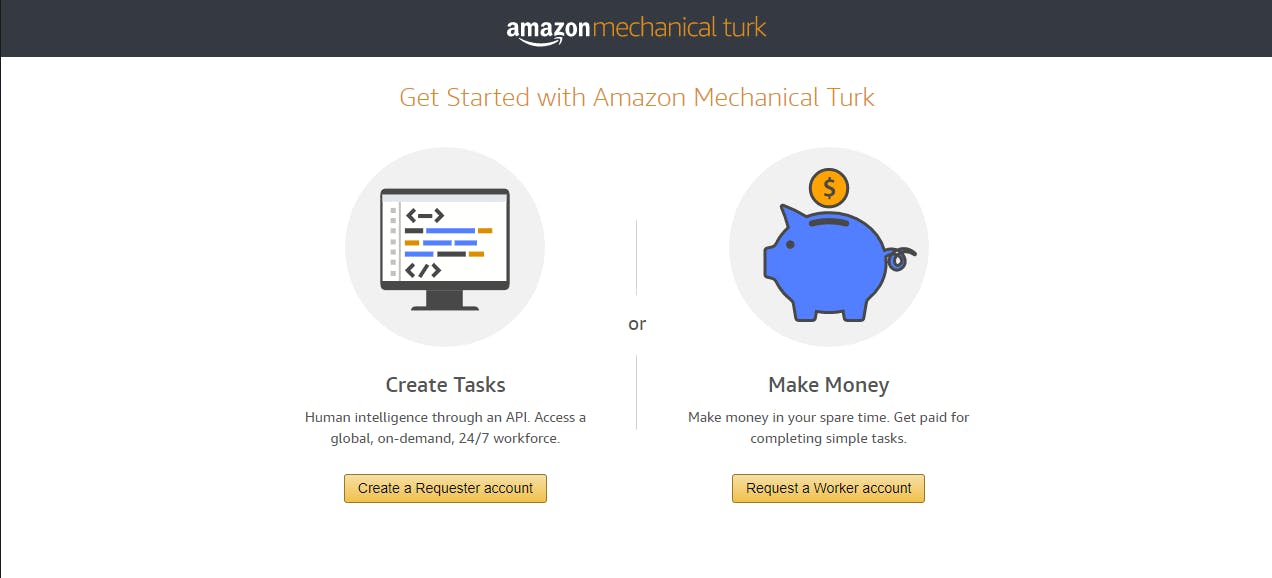
Navigate to the Amazon Mechanical Turk console and click the Get started with Amazon Mechanical Turk button.
Create an MTurk account linked to your AWS account:
A. Click the Create a requester account button.
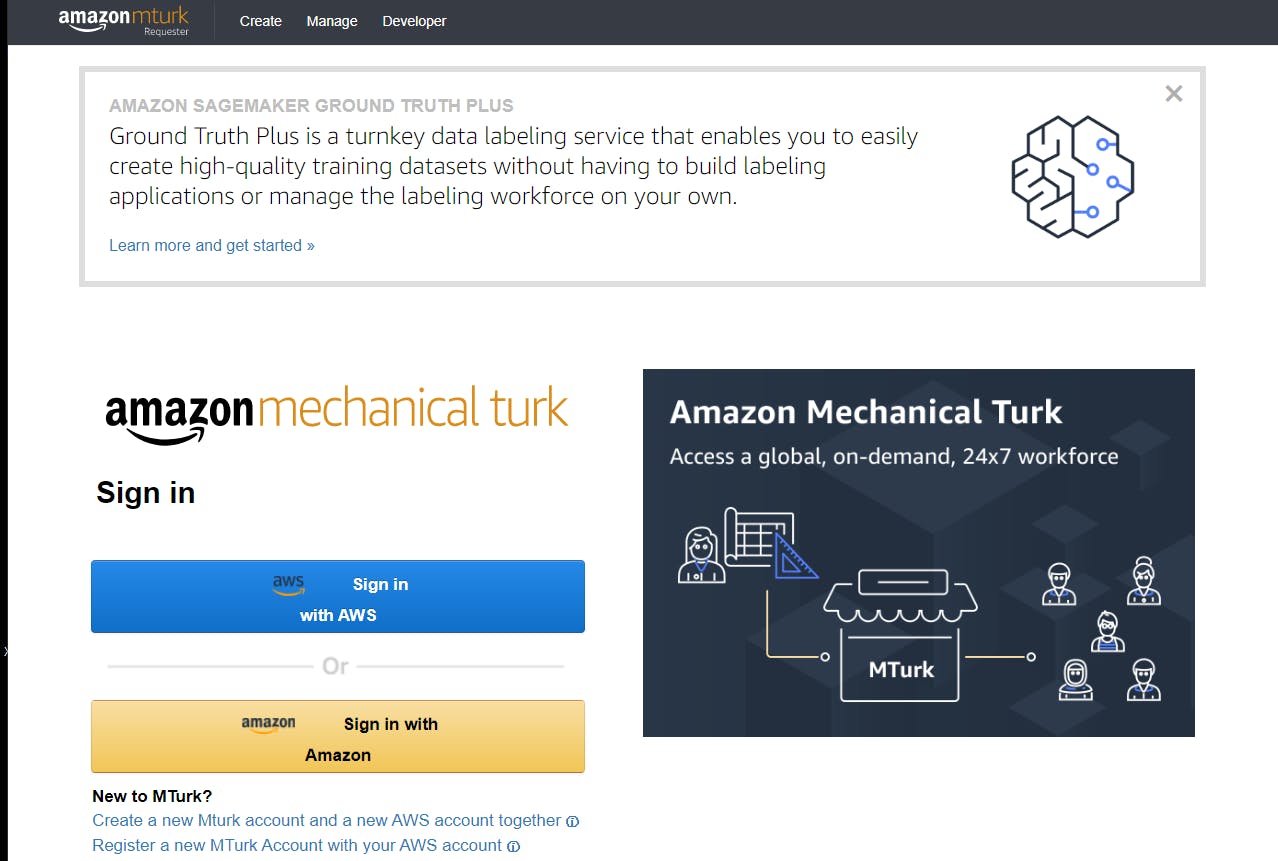
B. On the next page, click the Register a new MTurk Account with your AWS account link.
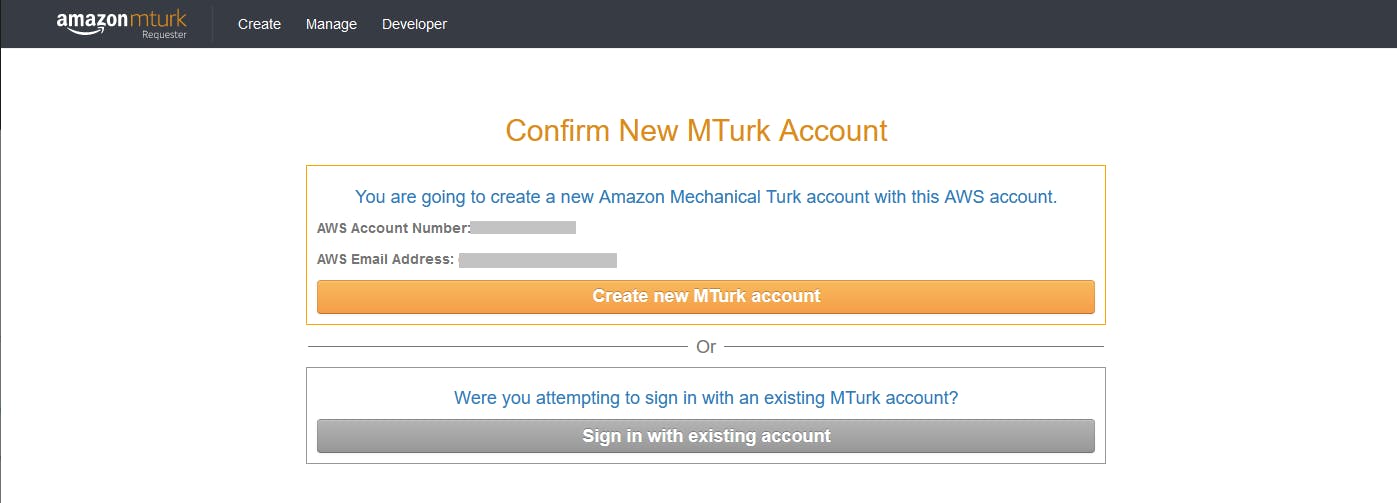
C. On the Confirm New MTurk Account page, confirm your expected AWS account number and email address are displayed, and click the Create new MTurk account button.
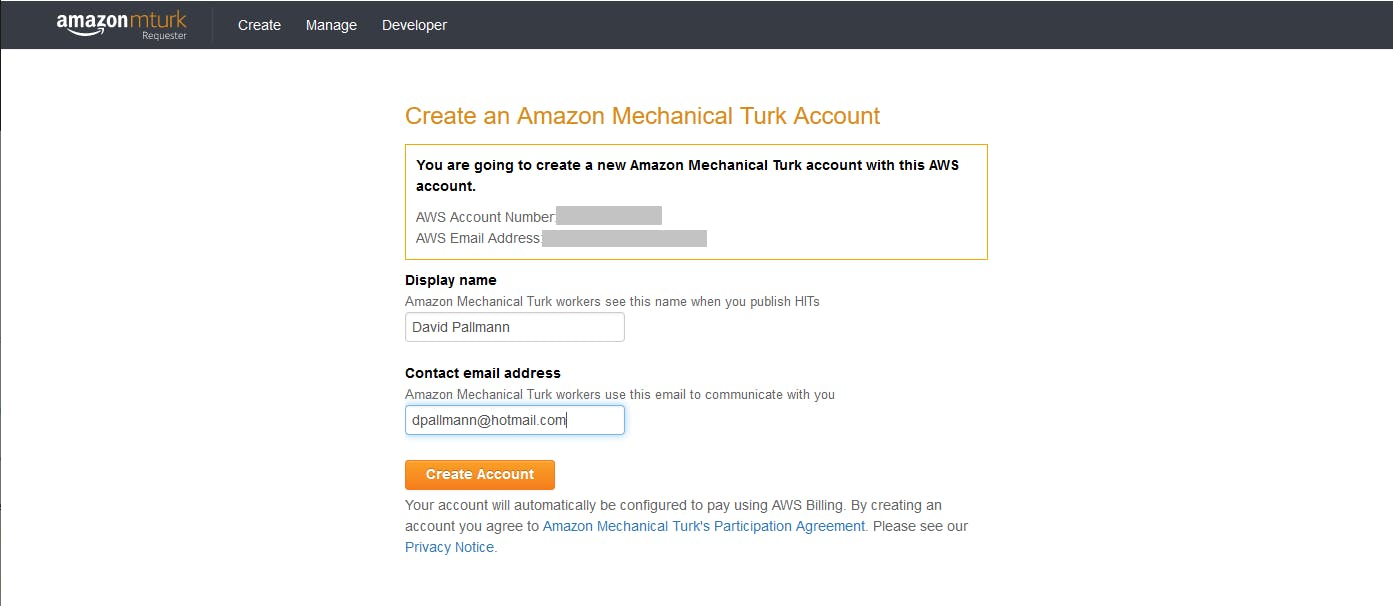
D. Set a display name and email address, and click Create Account.
E. With your account set up, you'll see a welcome page with Getting Started options.

Run the AWS CLI.
To confirm your MTurk account is integrated with your AWS account, let's use the AWS CLI to verify we access MTurk.
A. Open a command/terminal window.
B. Enter the command below. We specify region us-east-1 on the command because that is the region MTurk runs out of.
aws mturk list-hits -- region us-east-1You should see an empty list of HITs returned, since we haven't defined any yet. This confirms our AWS account and MTurk account are integrated.

Step 2: Register for the Developer Sandbox and Create Access Keys
In this step, you'll get familiar with the Mechanical Turk console, register for the developer sandbox, and generate access keys. Let's start with a quick tour.
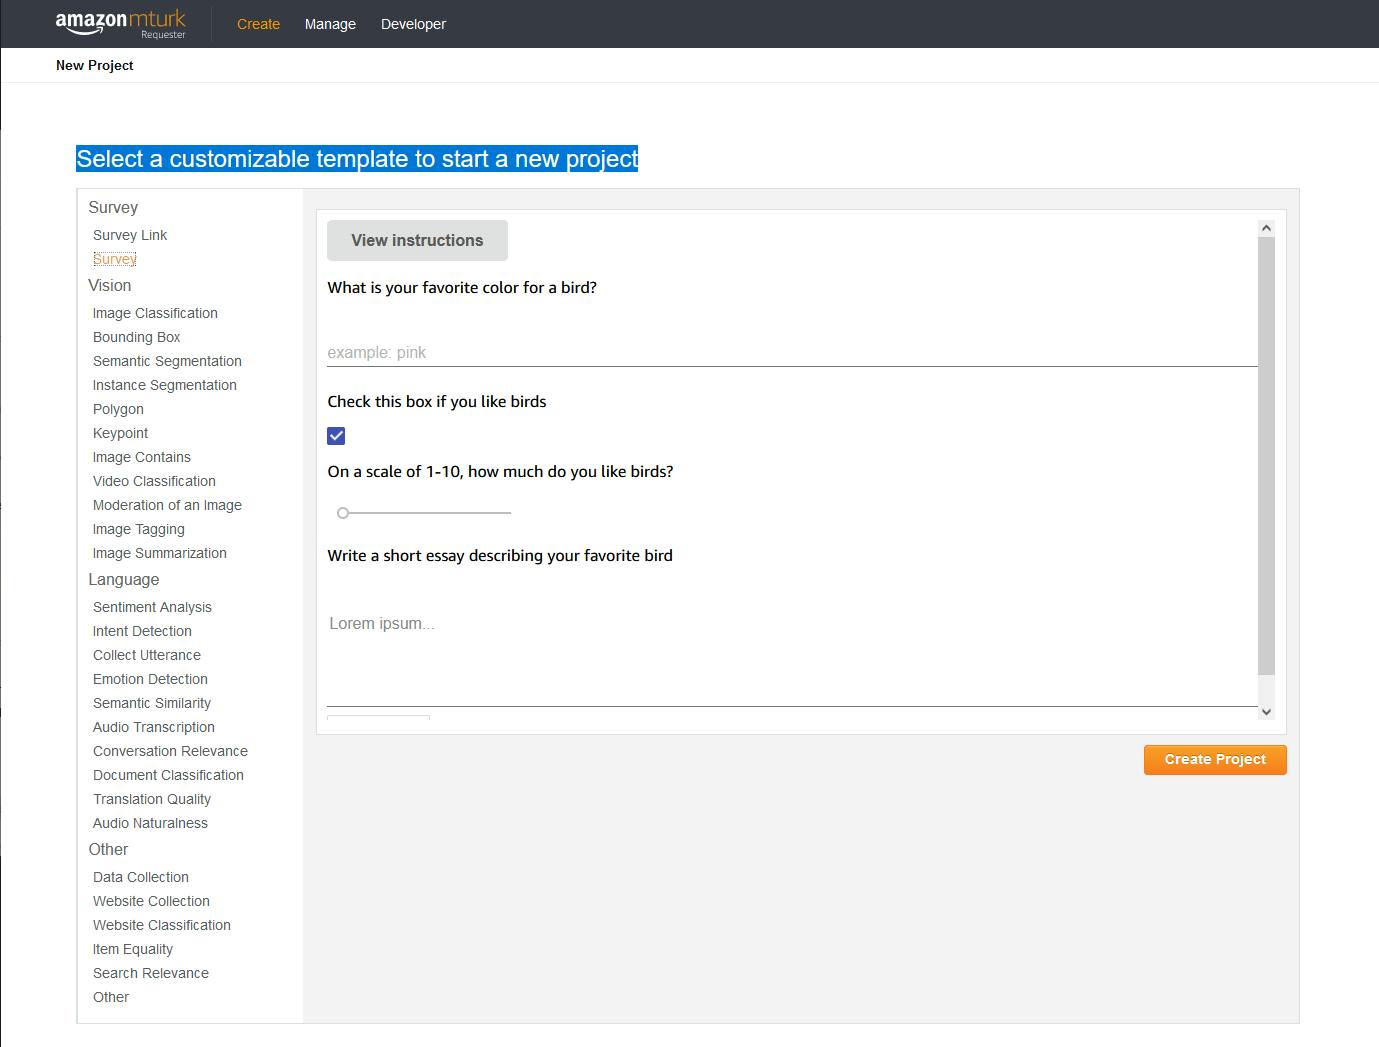
In the MTurk console, click the Create menu item at top.
Under Select a customizable template to start a new project, try clicking each item and seeing what the project preview shows you. This gives you an idea about the different kinds of tasks you can request.
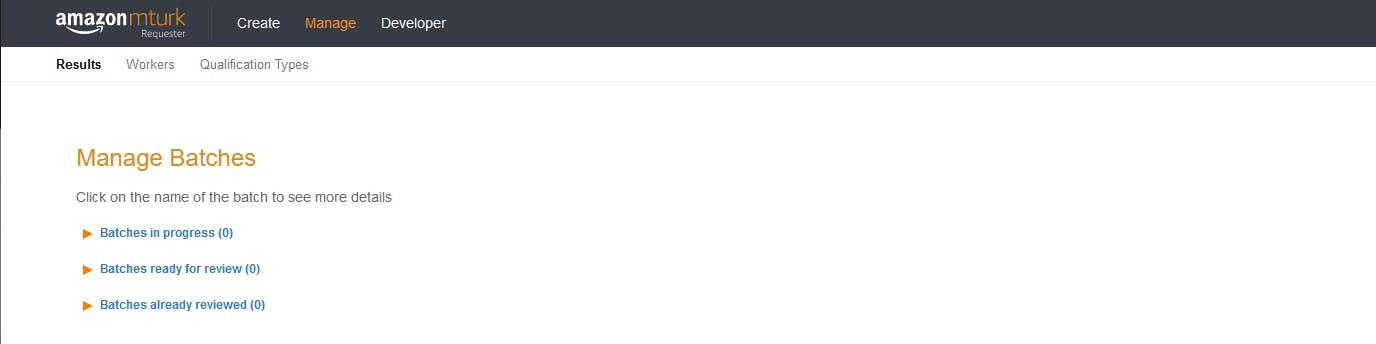
Click the Manage menu link at top.
A. Click Results. The Manage Batches page displays batches in progress, batches review for review, and batches already reviewed. Batches are tasks you run against large data sets.
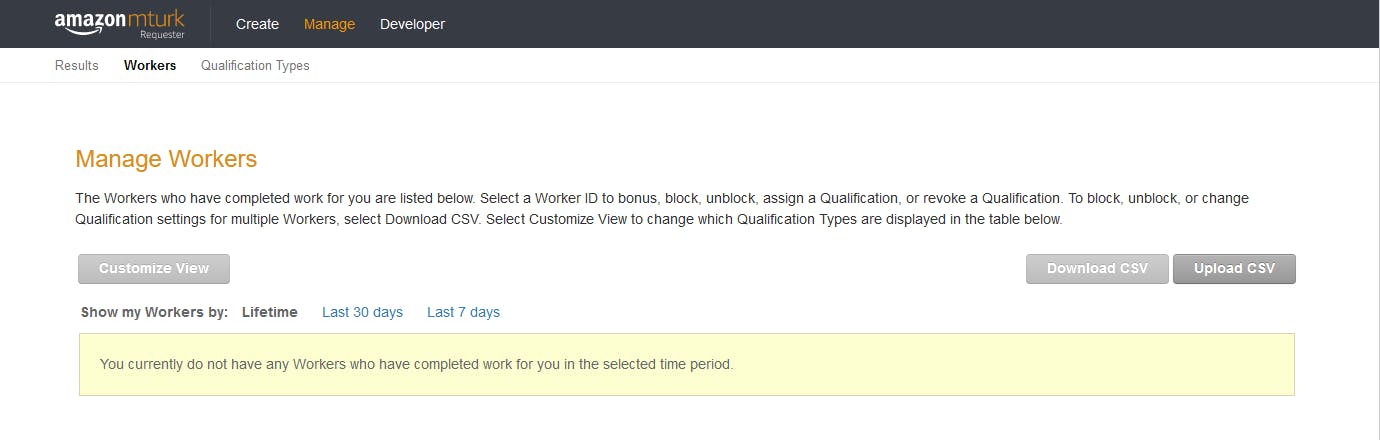
B. Click Workers. The Manage Worker page lists workers who have completed work for you.
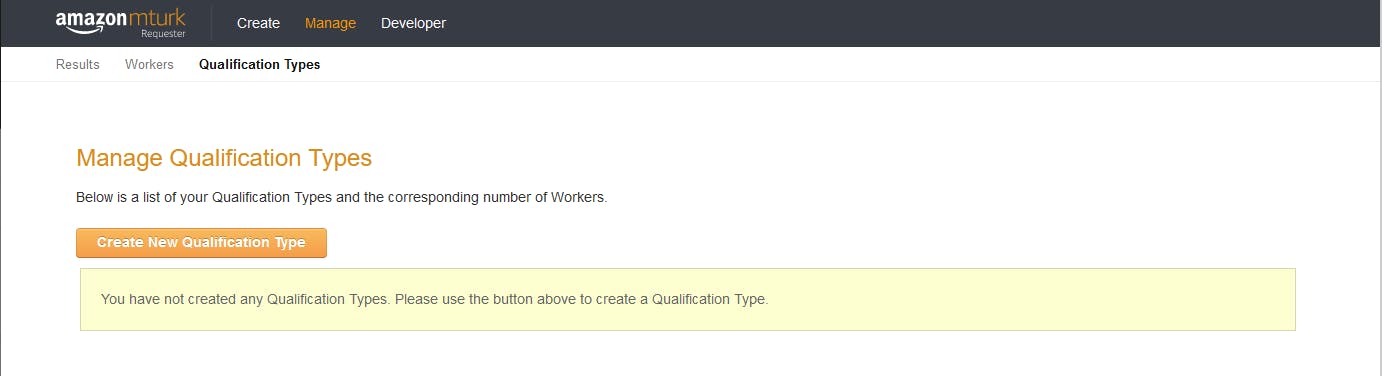
C. Click Qualification Types. The Manage Qualification Types page lets you create qualifications which let you match tasks to workers with the qualifications required.
Give your AWS user permissions to access MTurk:
A. Click the Developer menu link at top.
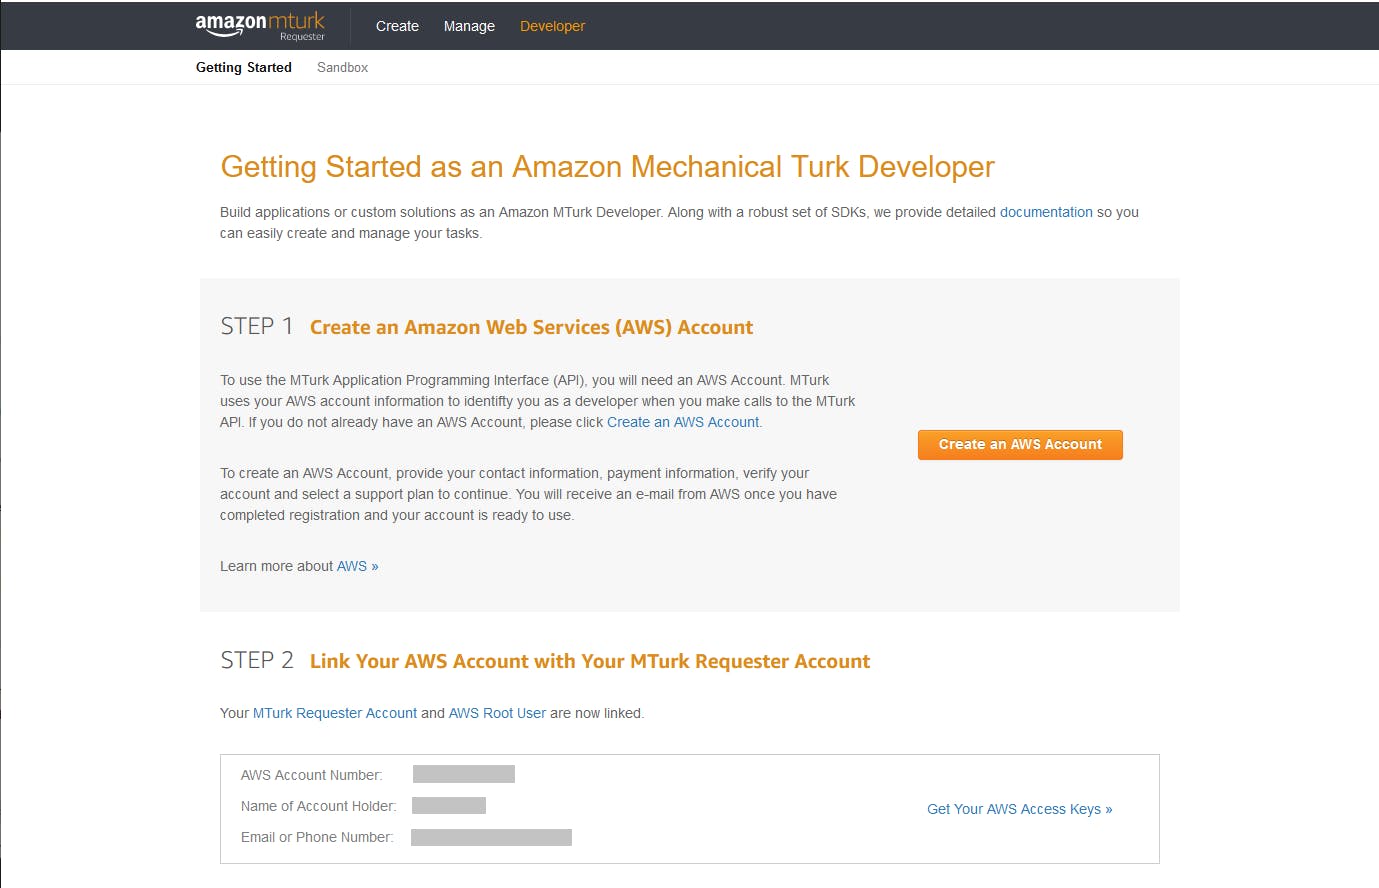
B. Under Step 2: Link Your AWS Account with Your MTurk Requester Account, you should see confirmation your AWS account is linked.
C. Click Get Your AWS Access Keys.
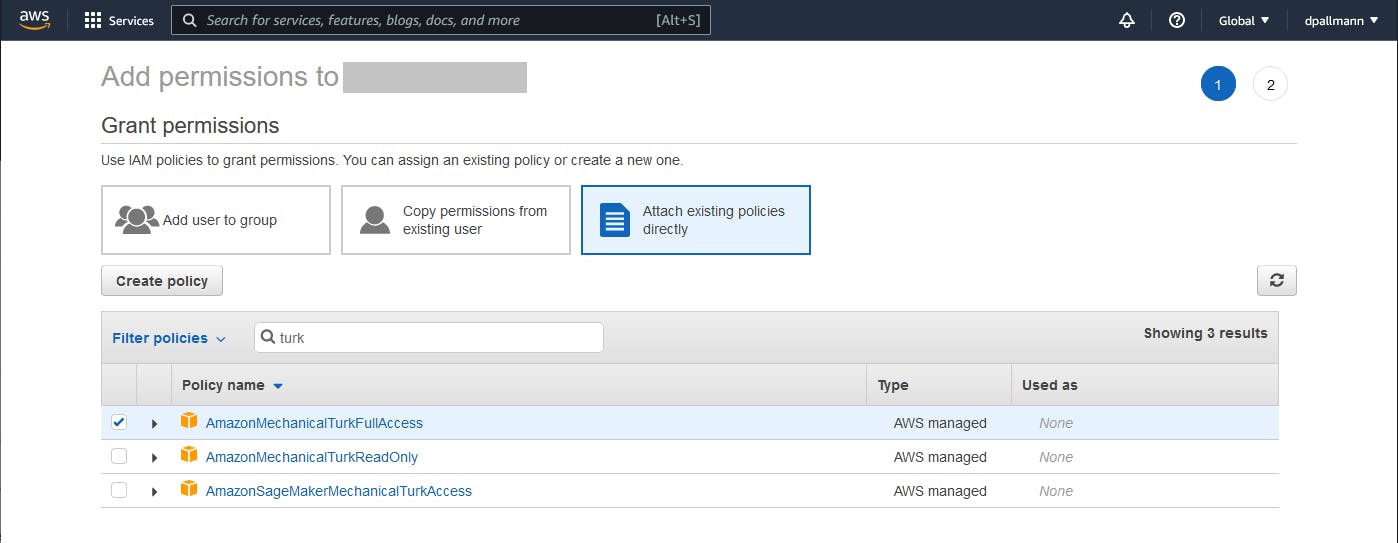
D. On the IAM page that opens, select Users on the left pane.
E. Select the user associated with your AWS default profile. If you've been following this Hello, Cloud series, select the user you created when you originally installed the AWS Toolkit for Visual Studio: this user is also associated with your AWS default profile.
F. With the user details open, select the Permissions tab. Click Attach policies and select Attach existing policies directly. Attach the AmazonMechanicalTurkFullAccess policy.
G. Click Next: Review and Add Permissions to add the policy.
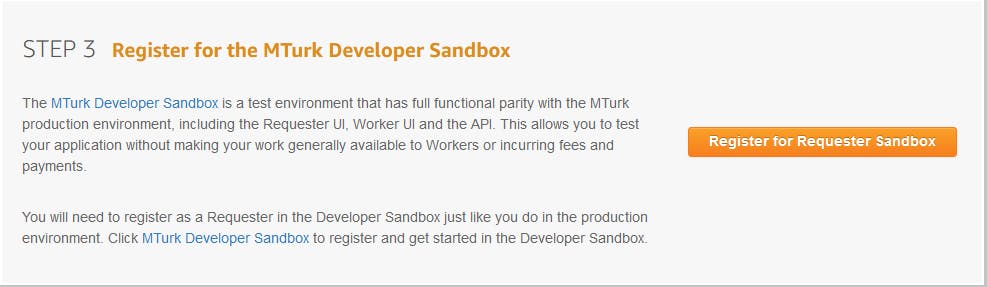
Register for the Developer Sandbox. Back on the Getting Started as an Amazon Mechanical Turk Developer page,
A. Under Step 3: Register for the MTurk Developer Sandbox, click Register for Requester Sandbox.
B. Click Sign in or Create an account Requester at top right.
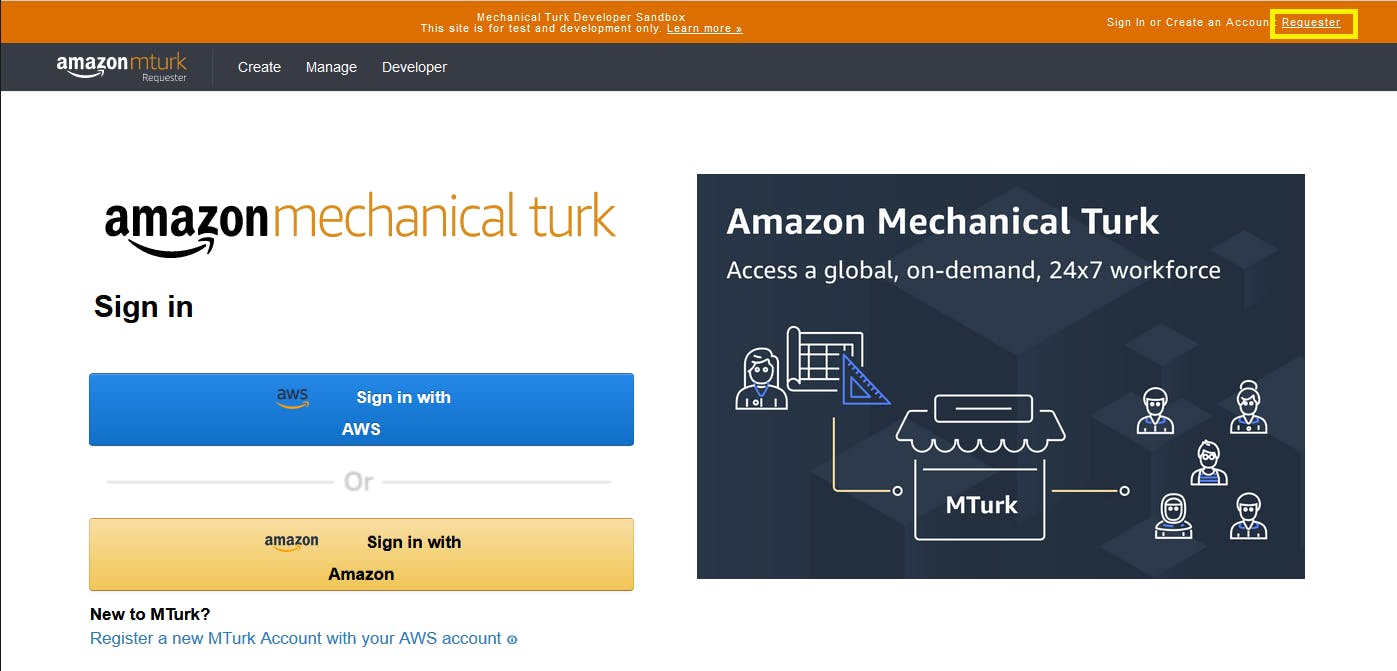
C. Click the Register a new MTurk Account with your AWS Account link.
D. On the Confirm New MTurk Account Page, click Create new MTurk account.
E. Set a Display Name and email address.
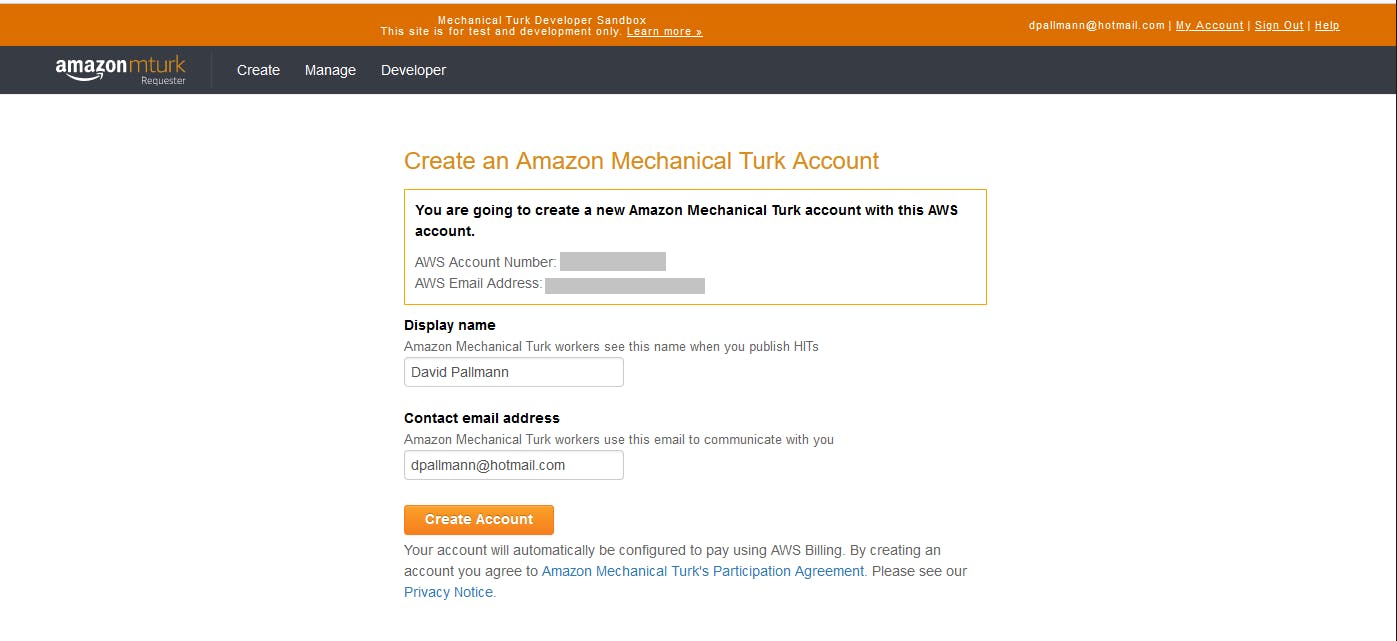
F. Click Create Account.
G. Click Developer at top. You should now see confirmation that your Sandbox requester account and AWS User are now linked.
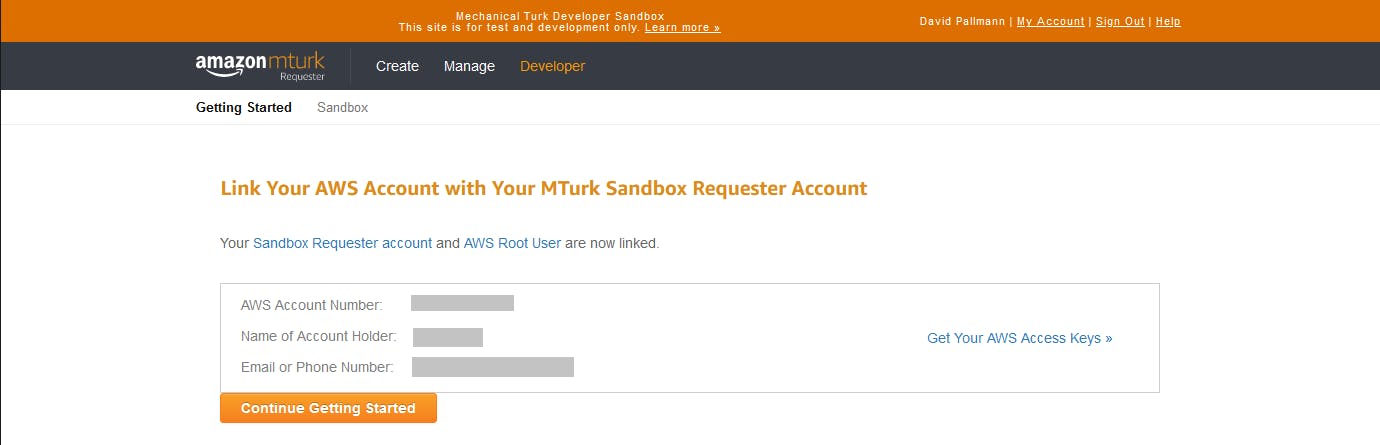
H. Click Get your AWS access keys
I. On the IAM page, click Create New Access Key.
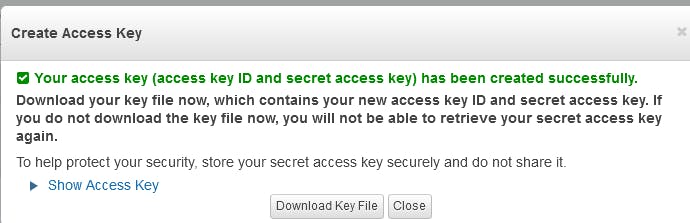
J. Record or download your access key and secret key and keep them in safe place. You will need these keys later on when you run your .NET code.
Step 3: Create a Sandbox Worker
Navigate to requestersandbox.mturk.com in a browser.
If prompted, sign in to your AWS account.
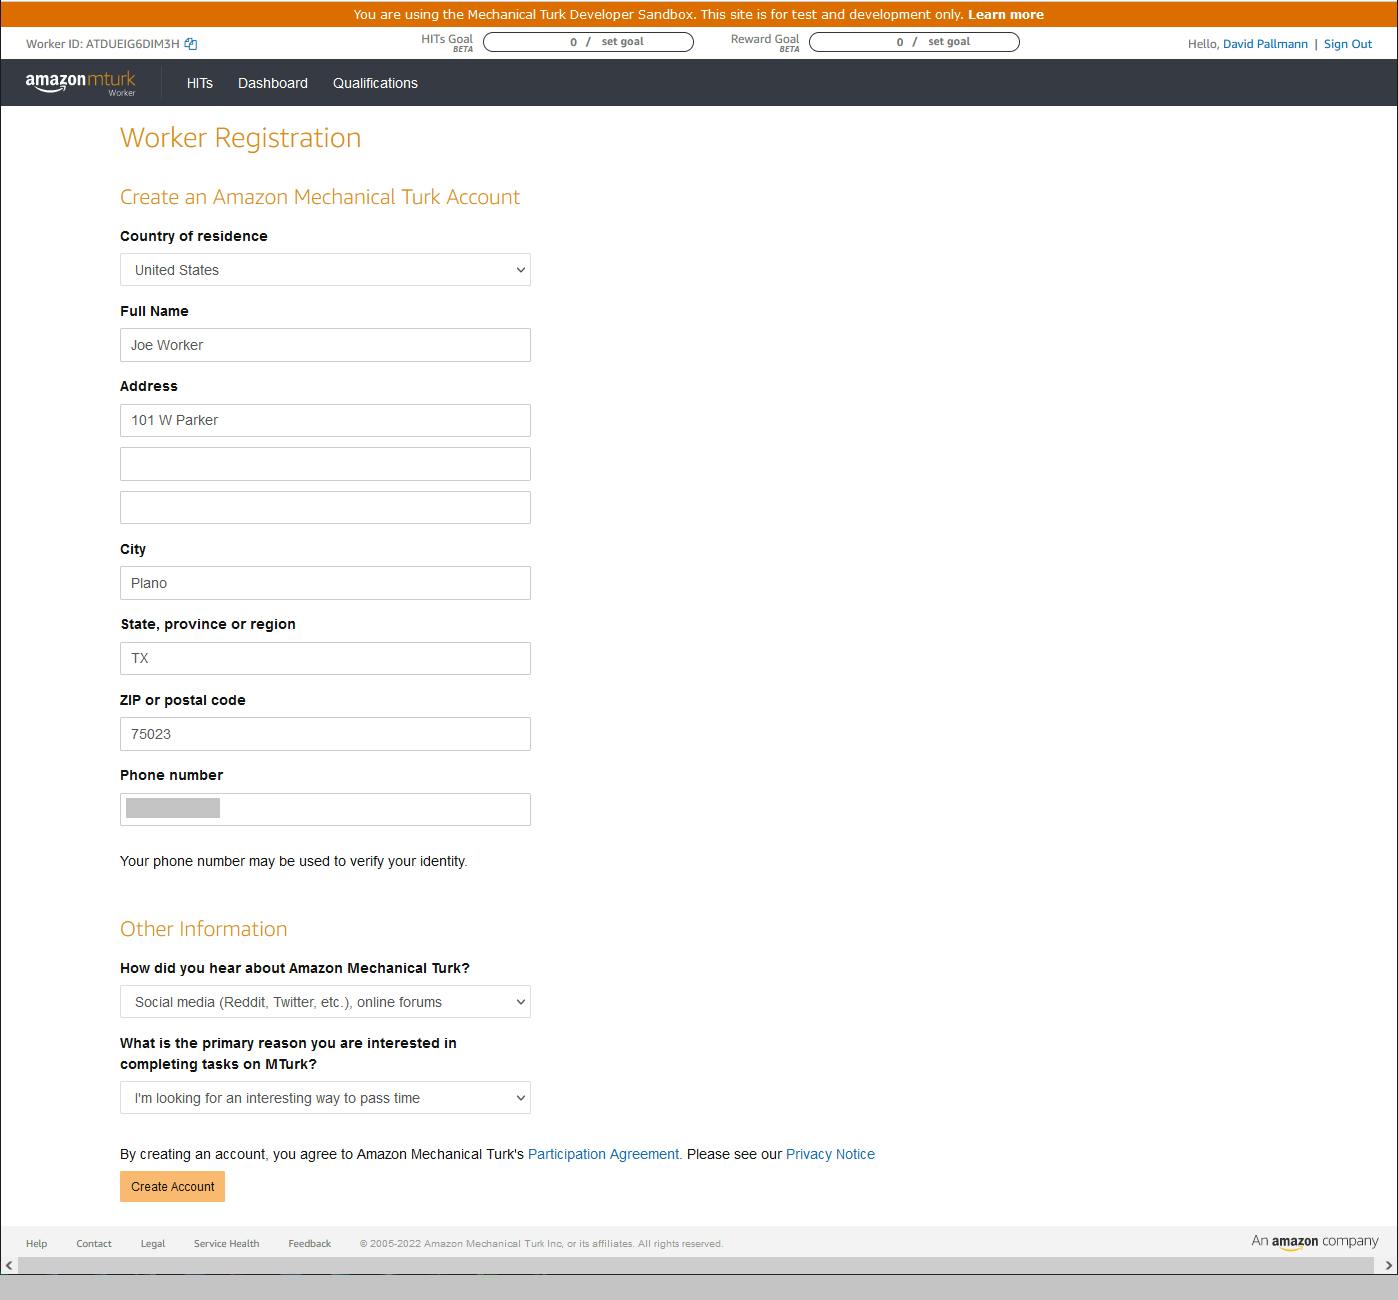
Fill in the Worker Registration form for a fictional worker, and click Create Account.
We can now simulate the worker side of our Mechanical Turk sandbox experiment.
Step 4: Create a .NET Console Program
In this step, you'll create a .NET program that can check your MTurk balance, add a new Human Intelligent Task, or get results for a HIT.
Open a command/terminal window and CD to a development folder.
Run the
dotnet newcommand below to create a new .NET console program namedhello-mturk.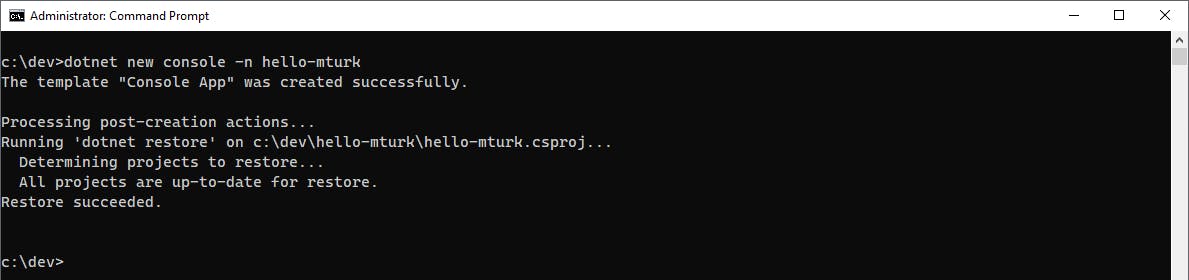
Launch Visual Studio and open the
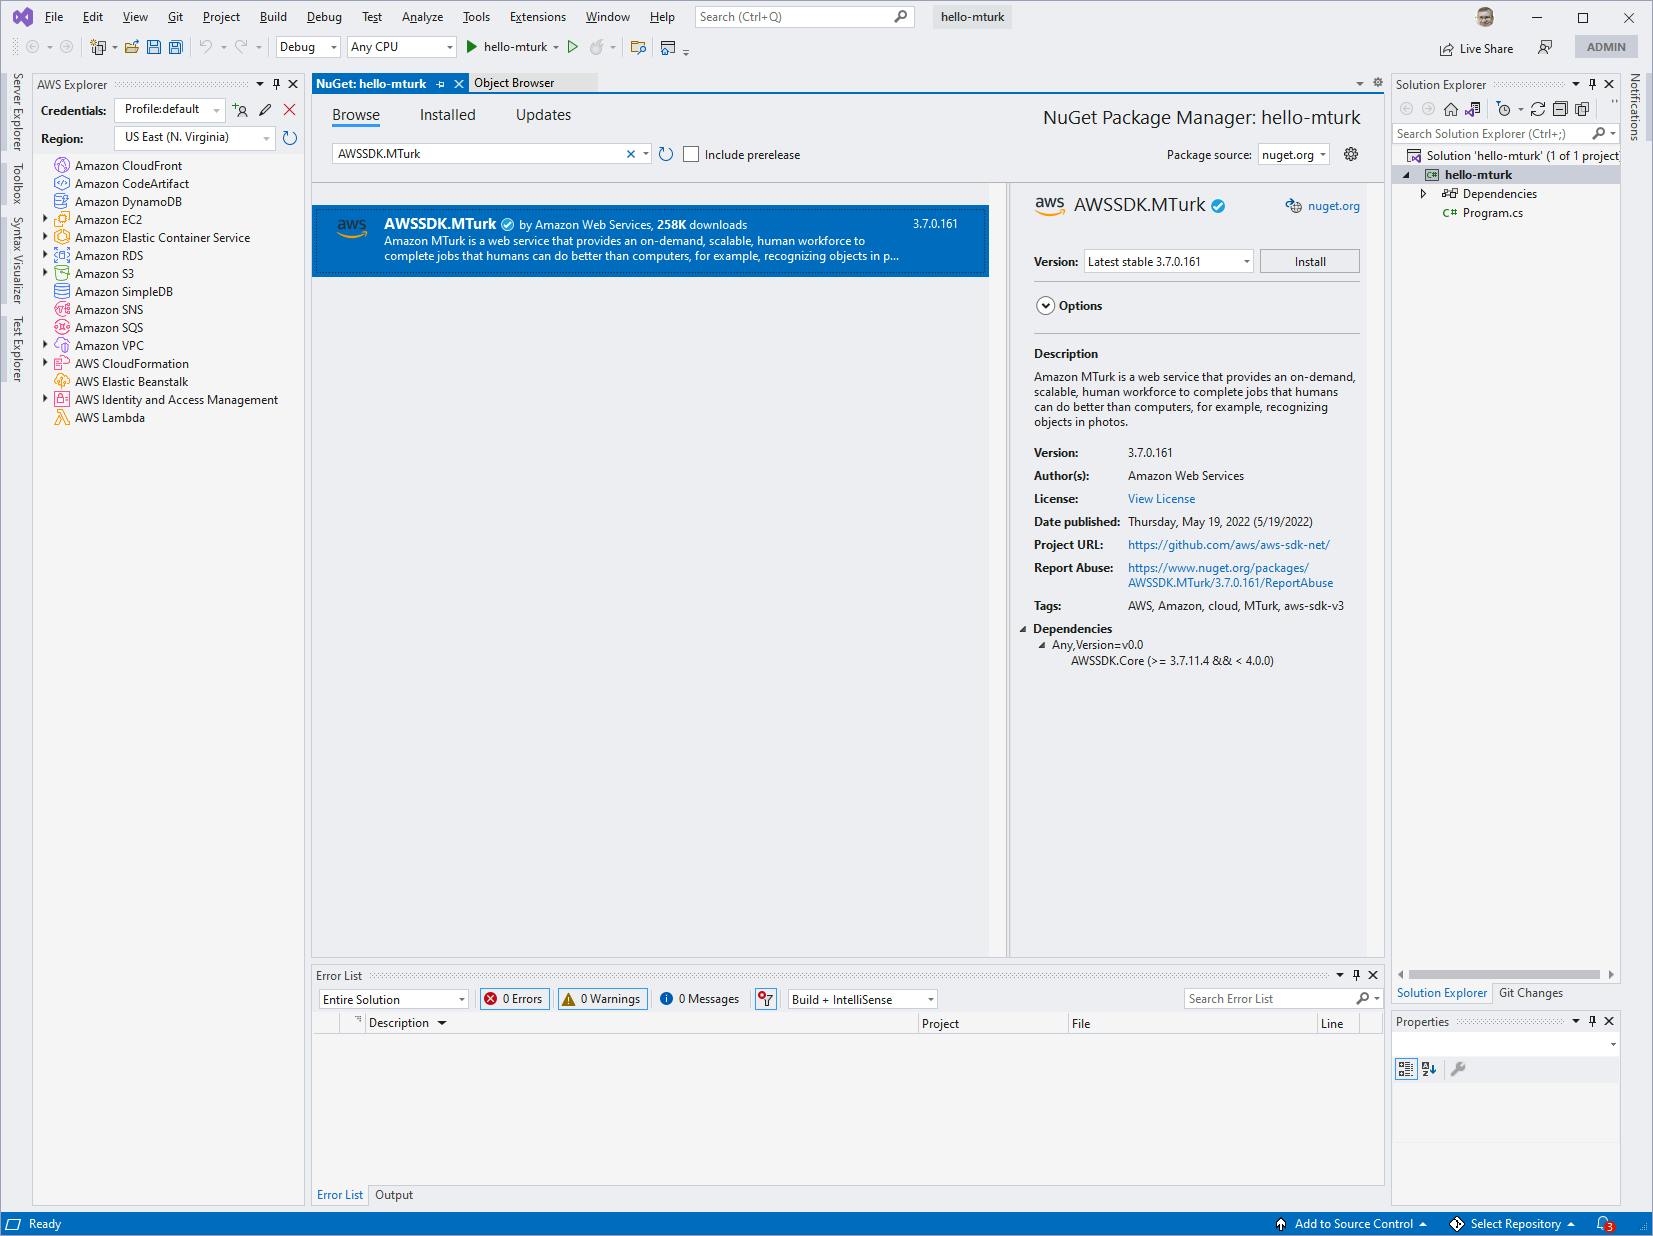
hello-mturkproject.Add the AWSSDK.MTurk NuGet package to the project.
A. In Solution Explorer, right-click the
hello-mturkproject and select **Manage NuGet Packages..."B. Search for and install the AWSSDK.MTurk package.
Add a question.xml file to the project. This will control what a worker sees when they work on your task.
A. In Solution Explorer, add a question.xml file.
B. In Properties for the question.xml file, set Copy to Output Directory to Copy if newer.
C. In the code editor, enter the XML below.
<HTMLQuestion xmlns="http://mechanicalturk.amazonaws.com/AWSMechanicalTurkDataSchemas/2011-11-11/HTMLQuestion.xsd">
<HTMLContent><![CDATA[
<!DOCTYPE html>
 <html>
 <head>
   <meta http-equiv='Content-Type' content='text/html; charset=UTF-8'/>
   <script type='text/javascript' src='https://s3.amazonaws.com/mturk-public/externalHIT_v1.js'> .
   </script>
 </head>
 <body>
   <form name='mturk_form' method='post' id='mturk_form' action='https://www.mturk.com/mturk/externalSubmit'>
     <input type='hidden' value='' name='assignmentId' id='assignmentId'/>
     <h1>What's your favorite ice cream flavor?</h1>
     <p><textarea name='comment' cols='80' rows='3'></textarea></p>
     <p><input type='submit' id='submitButton' value='Submit' /></p></form>
     <script language='Javascript'>turkSetAssignmentID();
     </script>
   </body>
 </html>
 ]]>
</HTMLContent>
<FrameHeight>450</FrameHeight>
</HTMLQuestion>
Open Program.cs in the code editor. Replace the code with the code below.
Program.cs
using Amazon.MTurk;
using Amazon.MTurk.Model;

string SANDBOX_URL = "https://mturk-requester-sandbox.us-east-1.amazonaws.com";
//string PROD_URL = "https://mturk-requester.us-east-1.amazonaws.com";

var config = new AmazonMTurkConfig()
{
    RegionEndpoint = Amazon.RegionEndpoint.USEast1,
    ServiceURL = SANDBOX_URL // PROD_URL
};

var mturkClient = new AmazonMTurkClient(config);

var command = (args.Length > 0) ? args[0] : null;

if (command == "balance")
{
    GetAccountBalanceRequest request = new GetAccountBalanceRequest();
    GetAccountBalanceResponse balance = await mturkClient.GetAccountBalanceAsync(request);
    Console.WriteLine("Your account balance is $" + balance.AvailableBalance);
}
else if (command == "add")
{
    string questionXML = System.IO.File.ReadAllText(@"question.xml");

    var hitRequest = new CreateHITRequest()
    {
        LifetimeInSeconds = 60*60*3,
        AssignmentDurationInSeconds = 60*3,
        Reward = "0.03",
        Title = "Type the (one or two words) you see in the image",
        Description = "Enter the highlighted text in the oval",
        Question = questionXML,
        MaxAssignments = 3
    };

    var createResponse = mturkClient.CreateHITAsync(hitRequest);
    var HITId = createResponse.Result.HIT.HITId;
    Console.WriteLine($"HIT created - Id: {HITId}");
    Console.WriteLine($"Worker link: https://workersandbox.mturk.com/projects/{createResponse.Result.HIT.HITTypeId}/tasks");

    var cont = String.Empty;
    Console.WriteLine("Press any key to update, or Q to quit.");
    do
    {
        var statusResponse = mturkClient.GetHITAsync(new GetHITRequest { HITId = HITId });
        var HIT = statusResponse.Result.HIT;
        Console.WriteLine($"Status: {HIT.HITStatus}, Expiration: {HIT.Expiration}, Available: {HIT.NumberOfAssignmentsAvailable}, Pending: {HIT.NumberOfAssignmentsPending}, Completed: {HIT.NumberOfAssignmentsCompleted}");
    } while (Console.ReadKey().KeyChar != 'Q');

}
else if (command=="results")
{
    var listRequest = new ListAssignmentsForHITRequest()
    {
        HITId = args[1]
    };
    var listResponse = await mturkClient.ListAssignmentsForHITAsync(listRequest);
    foreach(var assignment in listResponse.Assignments)
    {
        Console.WriteLine($"Worker Id: {assignment.WorkerId}, Answer: {assignment.Answer}");
    }
}
else
{
    Console.WriteLine("dotnet run -- add ................ creates a new Human Intelligence Task and monitors status");
    Console.WriteLine("dotnet run -- balance ............ shows account balance");
    Console.WriteLine("dotnet run -- results [hit-id] ... shows results for HIT");
}
Understand the Code
Lines 7-10: The program first creates an AmazonMTurkConfig object that specifies region US East 1 and that we are using the sandbox URL. To run in production, you would set the serviceURL property to PROD_URL.
13: An AmazonMTurkClient is created with the configuration.
15-22: If the command line parameter is "balance", a GetAccountBalanceRequest object is created and the GetAccountBalanceAsync SDK method is called. We display the AvailableBalance property of the response.
23-52: If the command line parameter is "add", a Human Intelligence Task (HIT) is generated. The XML for the question form is read from the question.xml file. A CreateHITRequest object specifies lifetime of the HIT, payment, a title, description, question form XML, and the maximum number of assignments. Calling CreateHITAsync returns a response with our HIT Id, from which we can compute the URL for responding to the task in the worker sandbox. Then, we enter a loop to fetch and display the status for the HIT. A keystroke refreshes the status, until "Q" is entered to quit.
53-63: if the command line parameter is "results", the ListAssignmentsForHITAsync method is called, passing the HIT Id specified in the second command line parameter. The response includes an Assignments collection, each containing an Answer property, which is XML that includes an answer entered by a worker.
Step 5: Run the Program
In this step, you'll run the program to check balance, add a HIT, and get results for a hit. Our program understands these command lines:
| command | description |
dotnet run -- add | creates a new Human Intelligence Task and monitors status. |
dotnet run -- balance | shows account balance. |
dotnet run -- results [hit-id] | shows results for HIT. |
Open a command/terminal window and CD to the project location.
Set environment variables with your access key and secret key. The AWS_ACCESS_KEY and AWS_SECRET_ACCESS_KEY variables provide your access key and secret access key. If you need to run on a different AWS profile than
default, you can set this as well with the AWS_PROFILE variable.On a Windows PC, use these commands:
SET AWS_ACCESS_KEY_ID=xxxxxxxxxx
SET AWS_SECRET_ACCESS_KEY=yyyyyyyyyy
On a Mac, use these commands:
export AWS_ACCESS_KEY_ID=xxxxxxxxxx
export AWS_SECRET_ACCESS_KEY=yyyyyyyyyy
Run the command below to check your balance. We are in the developer sandbox, so the balance will always be reported as $10,000. This also confirms you are able to access the MTurk API with your access key and secret key.
dotnet run -- balance
Run the command below to add a new HIT.
dotnet new -- add
In the console output, take note of the following:
A. The HIT Id. Ours is
3IHWR4LC7FM8FF6XVS2DB7Q196T8IT.B. The link from the console output. Copy this to the clipboard. Ours is
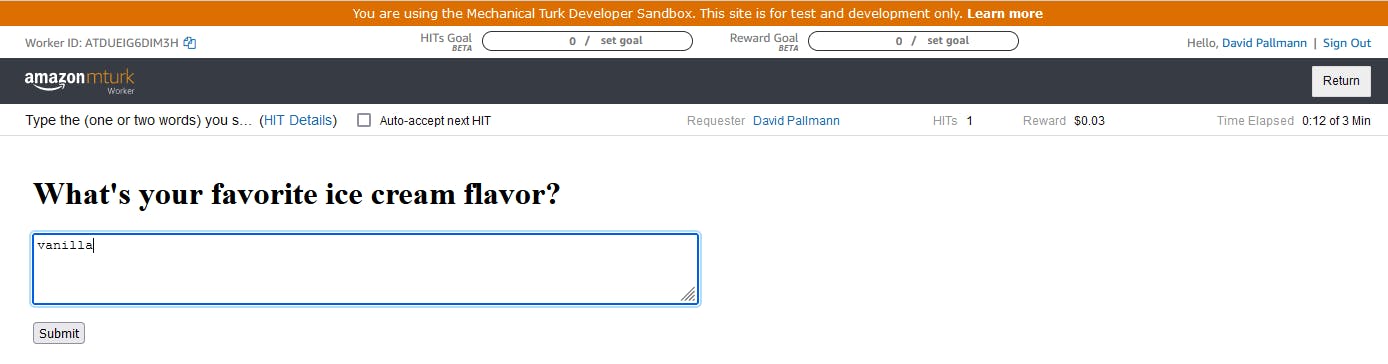
https://workersandbox.mturk.com/projects/3DBJM5HJP7KJ0XLU773S4GFFQ3EP9O/tasks.In a browser, visit the link to see what a worker would see. We see our test question, and attribution to our sandbox requester.
In the worker web page, click Accept.
Fill in an answer, and click Submit.

Back in the command window, press any key to get an updated status for the HIT. The status now shows 2 tasks available instead of 1.

Press Q to quit the program.
Now, let's fetch results for our HIT. In the command window, run the
dotnet run -- resultscommand with the HIT ID from #5A above. You see the response to the task as XML. Within that, the element contains the response the worker entered.dotnet run -- results [HitID]
<?xml version="1.0" encoding="ASCII"?>
<QuestionFormAnswers xmlns="http://mechanicalturk.amazonaws.com/AWSMechanicalTurkDataSchemas/2005-10-01/QuestionFormAnswers.xsd">
<Answer>
<QuestionIdentifier>comment</QuestionIdentifier>
<FreeText>Vanilla</FreeText>
</Answer>
</QuestionFormAnswers>
Congratulations! You've programmatically created a HIT and retrieved responses. Using the worker sandbox limited us to just one response, but in a production setting you would have multiple workers responding, within the limits you specified when creating the HIT. Use your imagination and imagine many responses.
Where to Go From Here
Crowdsourcing adds the vital human element that some processing requires. With Amazon Mechanical Turk, you can utilize a vast elastic marketplace of workers through an API.
In this tutorial, you linked your AWS account to Amazon Mechanical Turk and set up the developer sandbox. You wrote .NET code that used the AWS SDK for .NET to check your balance, create a Human Intelligence Task, and get results. You simulated the worker experience in the sandbox.
This tutorial did not cover qualifications or the myriad of different tasks available. To go further, review Amazon Mechanical Turk product pages, including developer resources and videos. Experiment with a use case for your business, and get a feel for designing tasks that are effective with workers.
Determine whether your use cases are batch or are event-driven. If event-driven, think how you will integrate MTurk into your business workflow. What events will cause you to create HITs? What MTurk SNS notifications will trigger Lambda functions to process results?
Further Reading
AWS Documentation
Developer Getting Started Guide
Sign up as a Requester or Worker
AWS SDK for .NET Documentation
Videos
AWS re:Invent 2018: Harness the Power of Crowdsourcing with Amazon Mechanical Turk
Blogs
Tutorial: Setting up your AWS Account to make use of MTurk’s API
Tutorial: Using the MTurk API with the AWS SDK for C# with .NET
Tutorial: Publishing HITs with MTurk and the C# programming language